Archive for the ‘Baking’ Category

Basic unsweetened shortcrust

30 March 2021

I use this recipe all the time for quiches and savory tartes (like this Classic French tomato tarte with mustard ). Sometimes also for sweet ones. It is based on a classic shortcrust pastry, with the sugar omitted.

Basic unsweetened shortcrust recipe
Makes enough for 2 quiches

210g white wheat (or spelt) flour
40g wholemeal rye (or buckwheat) flour
Large pinch of sea salt
125g cold unsalted butter
One egg

Small glass of cold water (I usually drop an ice cube into the water and leave it for a few minutes)

Mix the flours and salt together in a bowl. Add the butter, cut into cubes. With your hands, squish the butter into the flour until the mixture feels like coarse bread crumbs, with some larger pieces of butter remaining.

In a glass or small bowl, beat the egg and a tablespoon of water with a fork.

Add the egg to the flours, and mix well to obtain and homogenous dough (with some visible streaks of butter remaining). Let the dough rest in the fridge, wrapped in parchment paper or cling film, for at least an hour and up to a day.

When ready use, generously butter a pie dish, and dust it with a sprinkling of flour. Roll out the dough on a lightly floured surface, lifting it occasionally as you do it so it doesn’t stick to the surface. Roll it out into a circle as thinly as you like it and so that it won’t break.

To transfer the dough to the dish, loosely fold the dough in half once, and again, so it is now a multi-layered ‘quarter.’ Pick this up, place the point of the quarter at the center of the pie dish and unfold the crust, and press the sides carefully so that they hug the dish. Poke the dough all over with a fork.

At this stage, if the filling and/or the oven aren’t yet ready, place it into the refrigerator until ready to use.

(Any unused pastry keeps for 2 days in the fridge, or can be frozen)

Christmas cookies | Basler Brünsli

13 December 2020

Happy third Sunday of advent! I am, as usual, far behind in Christmas preparations, not least because I intend (yes, still in the present tense, ahem) to make my own advent’s wreath, and because I’ve been baking batches upon batches of these little brown cookies in search of an ideal recipe.

Thankfully, the quest for the prefect Brünsli has been much more successful than the house decorating, and I’ve arrived at a version which in a blind tasting was unanimously voted the best by the family.

It is a collation of three different recipes, one from Saveur, one from the bible Classic German Baking, and, poignantly, my friend’s alsatian family recipe handed down through generations, peppered with comments and advice. There they are called ‘Bruns (de Bâle).’

Brünsli or Bruns mean ‘brownie,’ which refers to the colour of the cookies, imparted by the chocolate, and has no connection whatsoever to brownies.

According to the website Patrimoine Culinaire Suisse, historical references to ‘Brünsli’ date back to at least 1725, where they are mentioned in the account of dishes served at a banquet in Winterthur, and while Brünsli are now ubiquitous throughout Switzerland, a significant number of sources throughout the nineteenth and early twentieth century link them expressly to the city of Basel.

The basic components of Brünsli are egg whites, sugar, chocolate, and nuts — nowadays essentially almonds, but historically also hazelnuts or walnuts. They are naturally gluten- and dairy-free. Some just have cinnamon and I like them with a hefty note of cloves too.

Basler Brünsli
Incidentally gluten- and dairy-free

Makes about 4 dozen cookies

250g (9 oz.) whole blanched almonds
250g (1 1/3 cup) sugar, plus more for rolling
125g (4.4 oz.) 70% chocolate, chopped
tsp ground cinnamon
½ tsp ground cloves
2 Tbsps Kirsch
2 egg whites

Grind the almonds together with the sugar in a food processor until the almonds are finely ground. Add the (pre-chopped) chocolate and pulse until it is finely ground too. Transfer this almond/sugar/chocolate to a large bowl and stir in the cinnamon, cloves, and Kirsch, mixing well with a wooden spoon.

Beat the egg whites until stiff, then incorporate gently but thoroughly so that the entire dough becomes wet and comes together as one mass. Roughly shape the dough into a flat oval, cover with parchment paper, and transfer to the fridge for at least two hours (and up to one day).

To roll out the dough, sprinkle the workspace generously with sugar, transfer the dough onto the sugar, sprinkle it with a little more sugar and lay a piece of parchment paper over the dough. Roll out the dough through the parchment to about 1/2 cm (1/4 inch) thickness. Cut out the cookies with shaped cutters; transfer them to parchment-paper—lined baking sheets, spacing the cookies 1 cm (1/2 inch) apart (the cookies don’t expand much when baking). Re-roll the scraps and repeat.

Let the cookies dry for 3 hours.

When ready to bake, heat the oven to 150°C (300°F). Bake until the cookies are slightly puffed, just 12 to 14 minutes (the cookies will feel soft; the outside hardens when they cool and the inside should stay chewy). Let cool completely and store in tin boxes lined with parchment paper. The cookies get better after a couple of days and keep well for a few weeks.

Cranberry lemon squares for a singular Thanksgiving

26 November 2020

This year I wasn’t sure about Thanksgiving. Many things felt uncertain just a few weeks ago, and wouldn’t a celebration without friends bring more acutely to the fore the limitations of these times? Better perhaps to stick our heads into the soggy English soil and push on to Christmas. All around us decorations are already going up.

Impossible. Not with children in the house who have never known a year without turkey, they were appalled. And, things started to look up. First in the news, then on a more personal note. The arc had begun to shift. And who am I to deprive my children of Thanksgiving, especially if they start baking pumpkin pie?

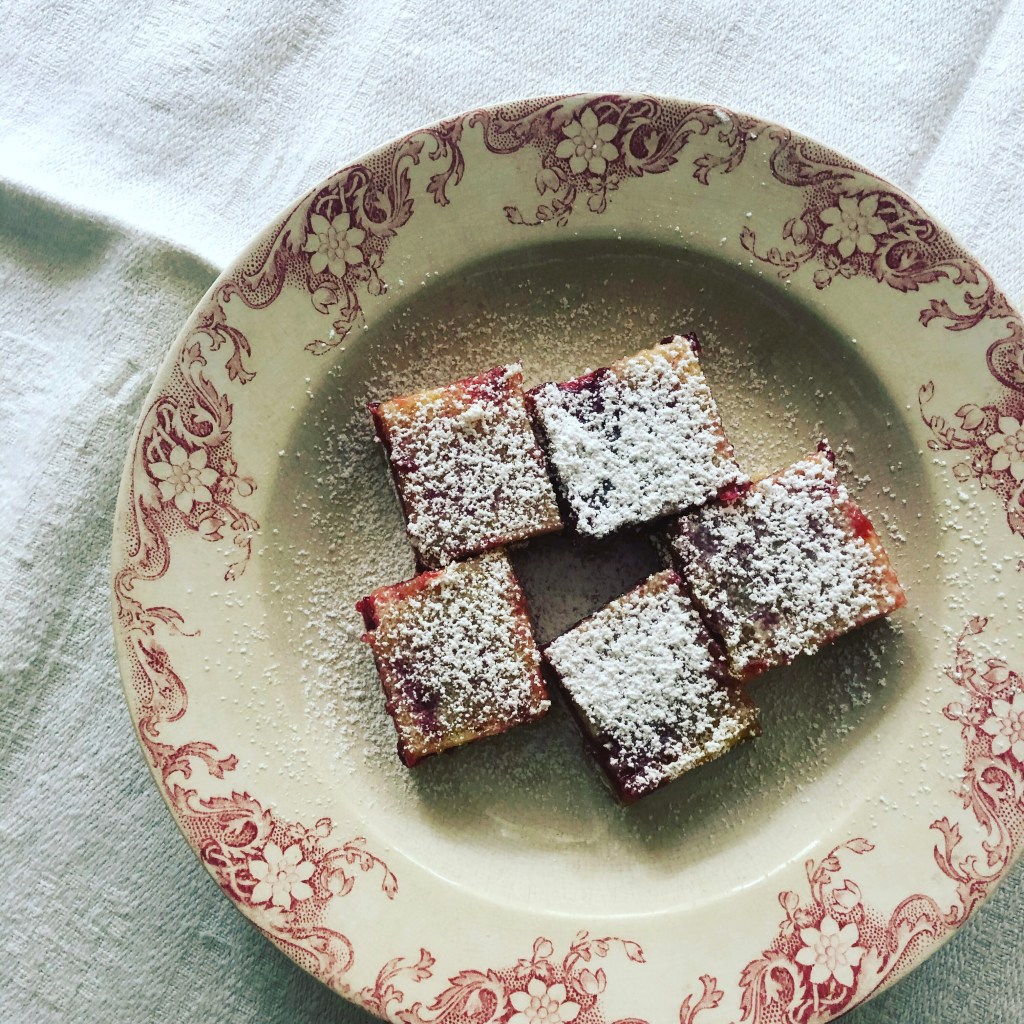
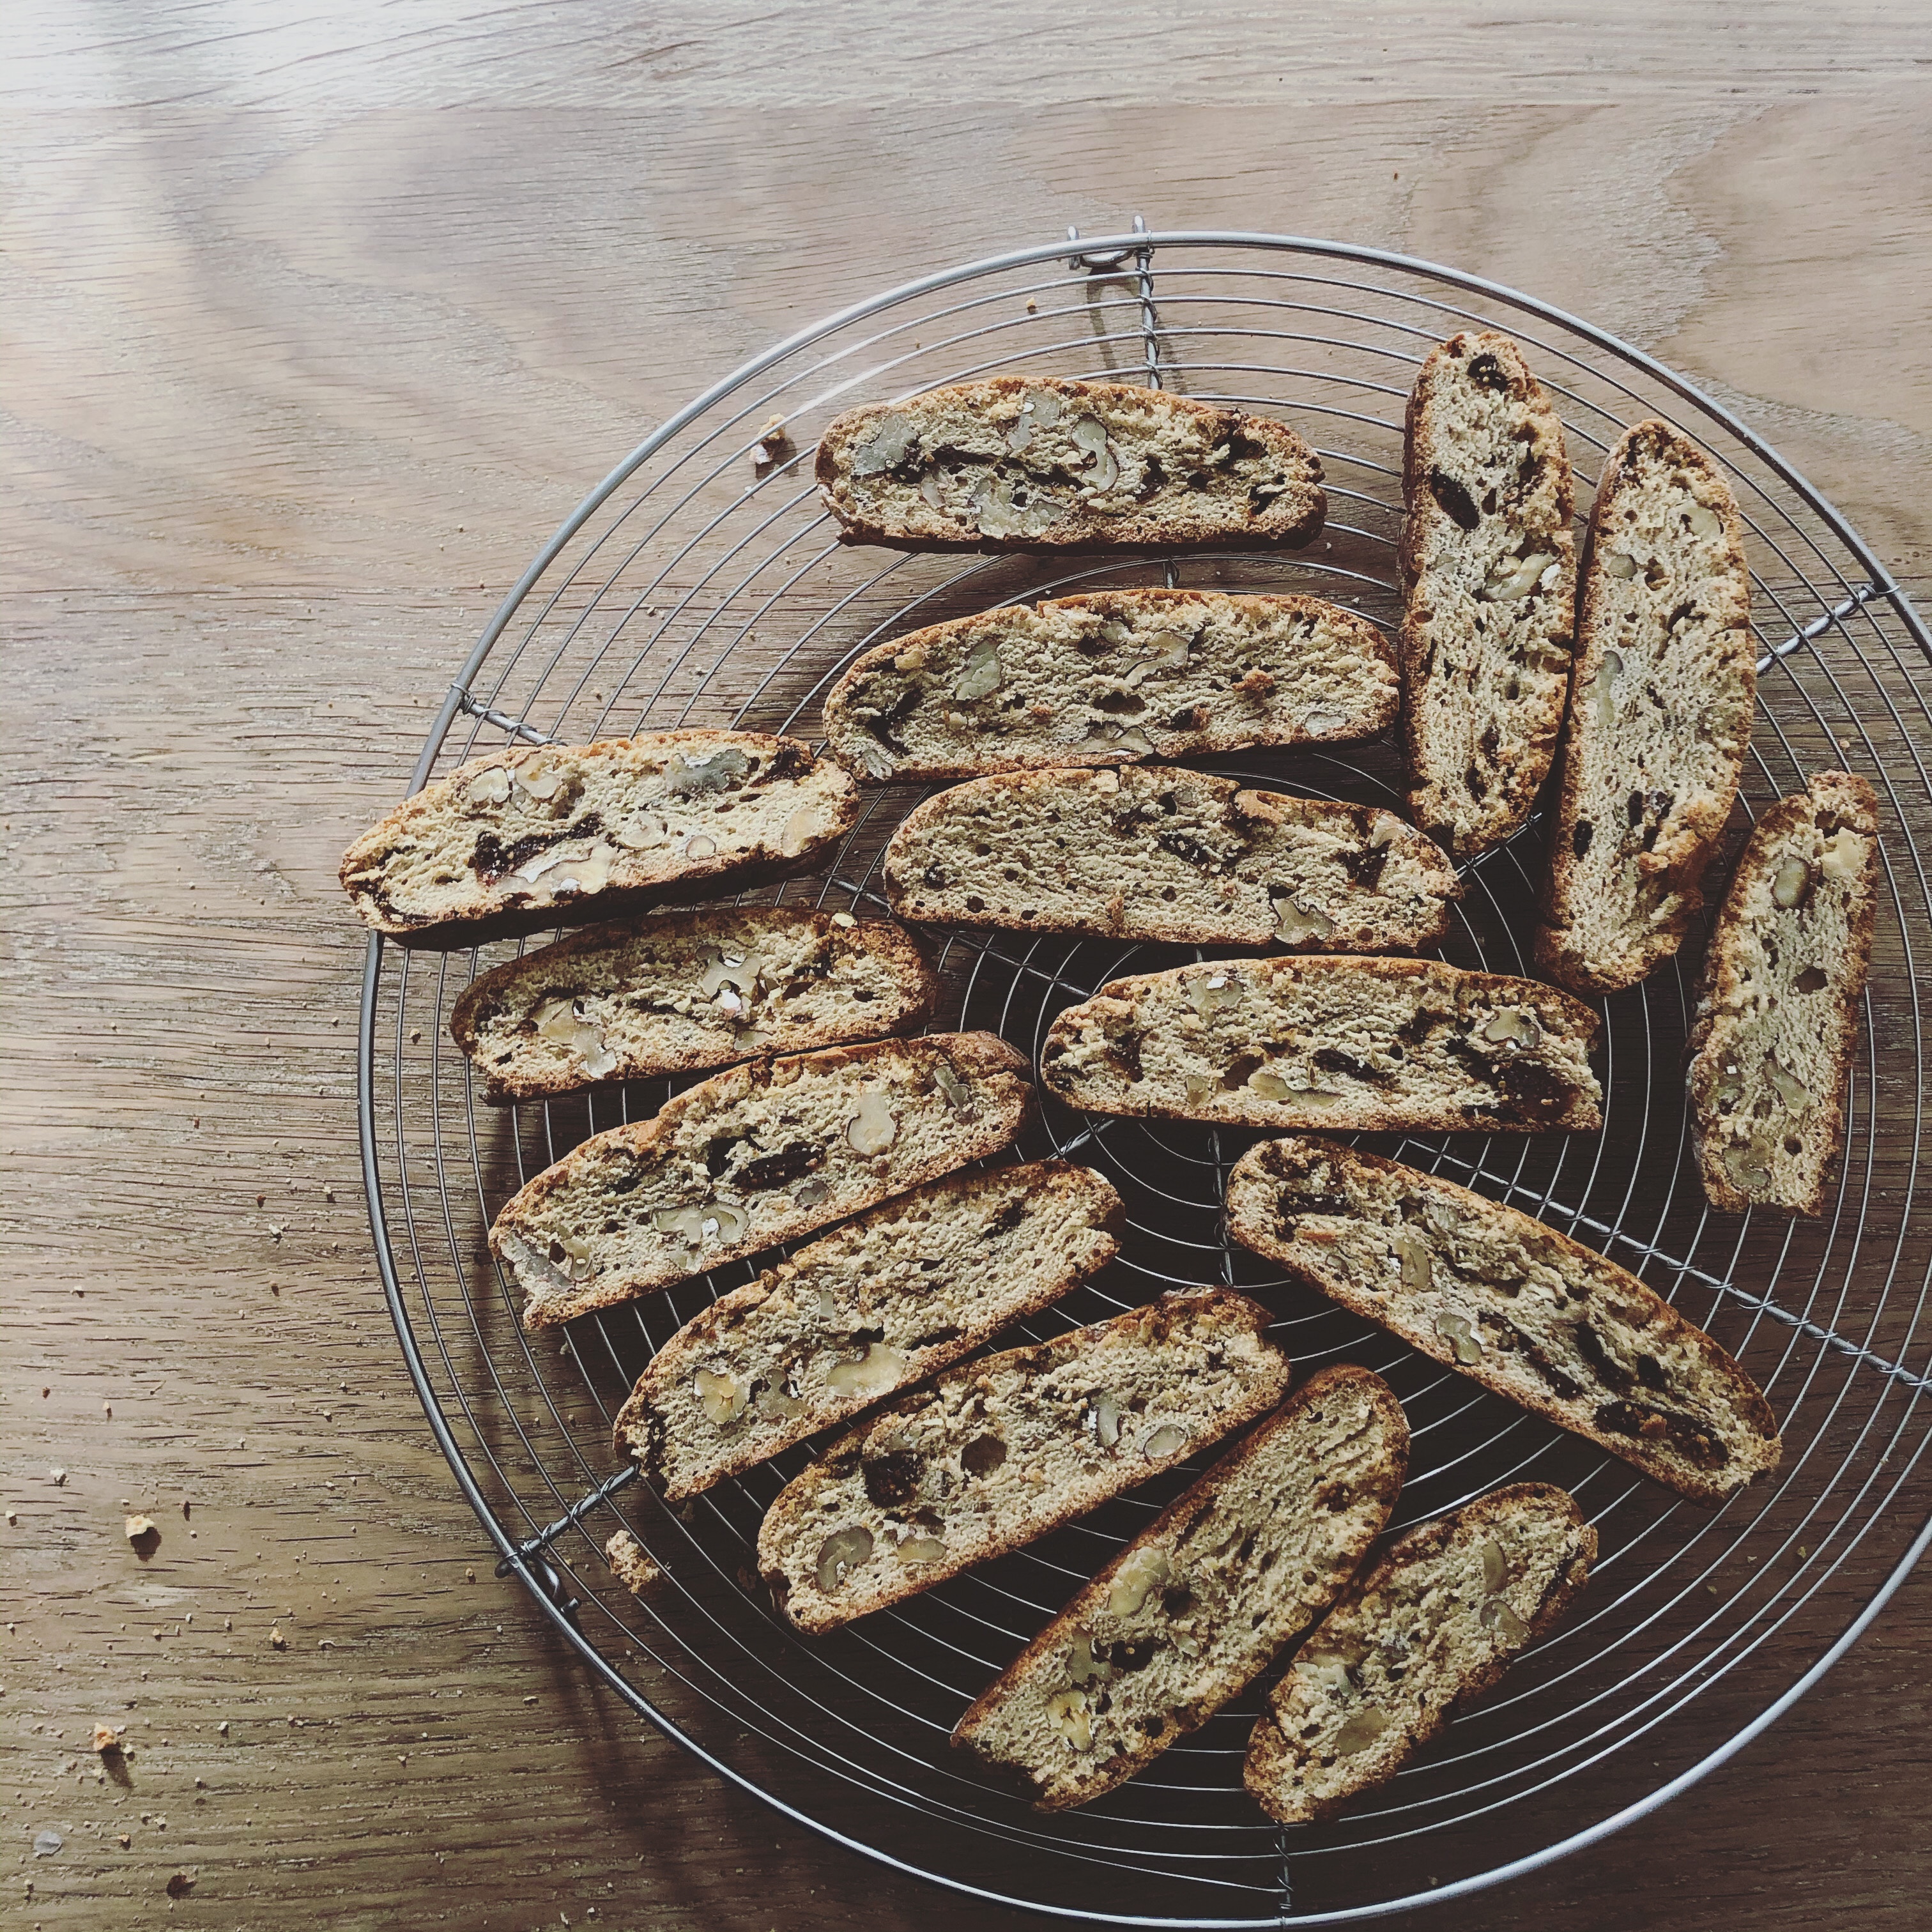
In this singular predicament where less time was needed preparing today, I suddenly had time to bake things, to give to friends. So I made pecan bars, which are probably my favourite and will endure some more tweaking before I’m entirely satisfied. And also these ridiculously delicious Cranberry Lemon Bars. The season will undoubtedly be different, but it stubbornly refuses to be swept under the carpet.

Happy Thanksgiving!

Cranberry lemon squares adapted from the NY Times Genevieve Ko’s Cranberry Lemon Bars
I have slightly modified each component. The shortbread comes from Alice Medrich’s book Chewy Gooey Crispy Crunchy, it has a little bit less butter which, shocking as it may seems, works better here I find. I have increased the quantity of lemon curd, which in the original seemed just barely enough to cover the whole surface. You can find the original recipe here.

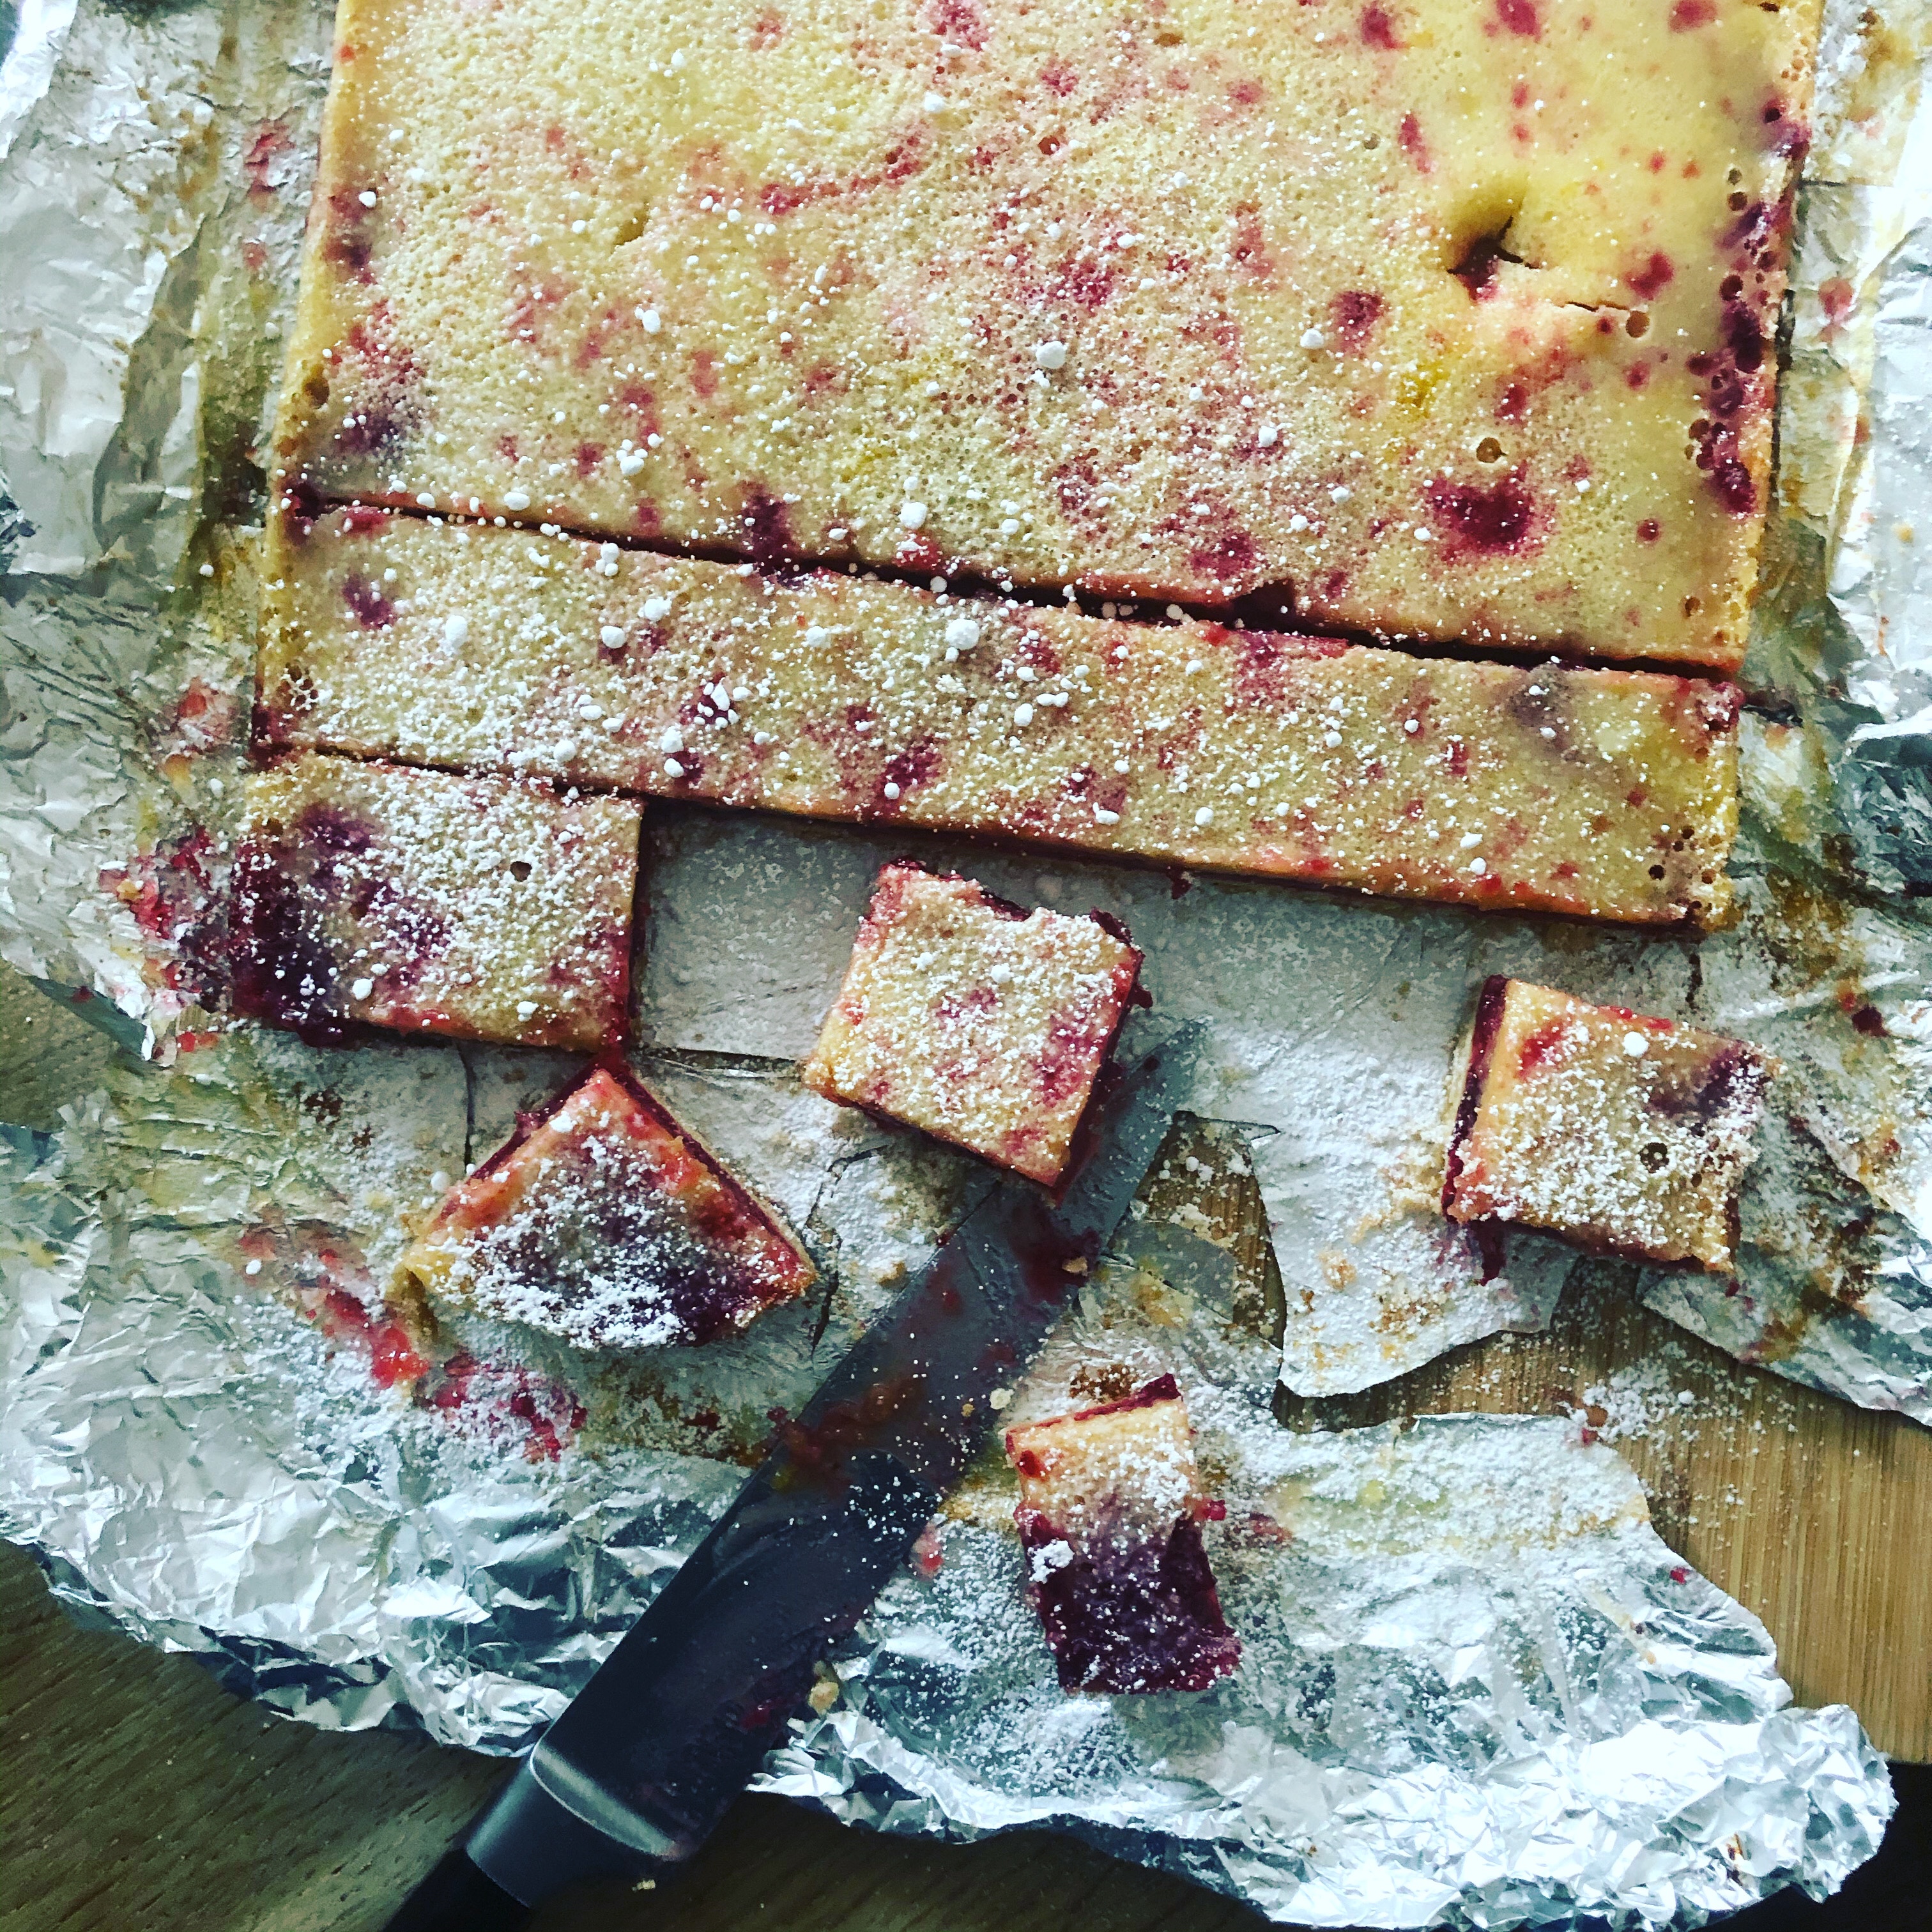
Note about the pan size: The quantity fits a 34 x 23cm (13 x 9 in) pan, but any rectangular cake pans or loaf tins can be used — once the shortbread is pressed (as thinly as possible, about 1/2 cm or 1/4 inch thick), if it doesn’t cover the whole surface of the pan just create a ‘rim’ by folding the aluminium foil where the dough ends.

First, make the cranberry sauce

340g cranberries
150g sugar
150ml (2/3 cup) water
Zest from 2 lemons

Wash and pick through the cranberries to remove any soft or discoloured ones. In a medium saucepan, mix the cranberries, sugar, water, and lemon zest and bring to a boil. Cook over a medium flame for about 10 minutes, until the cranberries burst and take on the consistency of jam. Remove from the heat and set aside.

Now prepare the shortbread
(Note: this shortbread is different to the one in the original recipe)

250g butter (+ plus a small knob for buttering the pan)
100g sugar
1 tsp vanilla extract
1/4 tsp salt
310g flour

Preheat the oven to 175°C (350°F) and position the rack in the lower third of the oven.

Melt all the butter and let it cool slightly.

Meanwhile, line a high rim 34 x 23cm (13 x 9 in) pan with aluminum foil and brush it generously with some of the melted butter, making sure to go up the sides.

In a medium bowl, mix the warm butter with the sugar, vanilla, and salt until the melted butter has been completely incorporated. Add the flour and mix just enough to combine into a smooth dough (it will be quite soft and oily).

Press the dough into the prepared pan to achieve a smooth, even layer as thin as possible, about 1/2 cm (1/4 inch) thick.

Bake for 16 to 18 minutes, until the sides barely start to turn golden.

Meanwhile, prepare the lemon layer

260g caster sugar
30g flour
Pinch of sea salt
4 eggs
200ml lemon juice (using the zested lemons plus 1 or 2 besides)
Icing sugar for dusting (optional)

In a medium bowl, whisk together the sugar, flour, and salt. Add the eggs and stir gently to combine without over-whisking. Finally, gently whisk in the lemon juice until smooth.

Let the shortbread cool for about 5 minutes and spread the cranberry sauce over it in an even layer. Carefully pour the lemon mixture over the cranberries. Return to the oven and bake for 18 to 20 minutes, until the top layer is set (it shouldn’t jiggle).

Let cool completely then place the tray in the refrigerator for at least two hours until cold and set. Slice into bite-size squares and, if desired, dust with icing sugar before serving.

Halloween charcoal cookies

30 October 2020

There may not be much of a Halloween celebration this year, and I nearly didn’t find pumpkins to carve as our corner grocer and prime purveyor sold out two days ago (to quote her: ‘I don’t know, I think people must just be so bored’), but I did manage to make these black cookies, naturally coloured with activated charcoal powder, and that makes me happy.

Charcoal crackers are quite common here in Britain, often to be paired with cheese, which gave me the idea for the colouring. I adapted a recipe from our home cookie bible, Alice Medrich‘s Chewy Gooey Crispy Crunchy — while I’m not much of a cookie baker, the children use it all the time. The vanilla cream cheese sandwich version of the sugar cookies proved to be the perfect recipe, to which I simply added a hefty dose of charcoal powder to achieve the deepest black.

Charcoal cookies after a sugar cookie recipe from Chewy Gooey Crispy Crunchy by Alice Medrich

380g (3 cups) flour
2 tsps cream of tartar
1 tsp baking soda
1/2 tsp salt
225g (1 stick) butter, softened
300g (1 1/2 cups) sugar
2 Tbsps milk
1 Tbsp pure vanilla extract
3 Tbsps activated charcoal powder

In a medium bowl, combine the flour, cream of tartar, baking soda, and salt, and mix thoroughly.

In a large bowl, beat the softened butter with the sugar until smooth and creamy. Beat in the milk, vanilla, and charcoal powder. Add the flour mixture and stir to thoroughly combine.

Divide the dough into 2 pieces, and roll each onto parchment paper into thin sheets approximately 1/3 cm (1/8 inch) thick. Place in the refrigerator for at least 2 hours or overnight.

Make a stencil for a bat (or rat, or cat, or any other shape).

Preheat the oven to 175°C (350°F).

Cut out the dough along the stencil shapes, using up the leftover bits and pieces as you go by kneading them together just enough to form a smooth dough and rolling it out again.

Transfer the shapes to a baking sheet lightly dusted with sugar and bake for 10 to 12 minutes.

Sourdough biscotti

20 October 2020

This idea sprouted a few months ago as an attempt to use up some of the ‘discard’ from my sourdough starter — in my experience the biggest challenge of a novice sourdough baker. (The ‘discard’ is the part of the sourdough mother that is not used for baking but needs to be cast aside so that fresh flour and water can ‘feed’ the mother.)

It’s now become a joke that everyone started baking sourdough during ‘lockdown.’ I am guilty as charged, and, like everyone else, faced the existential stress, for my fledgeling sourdough mother, of finding flour in April (when, naggingly, every shop was laden with the most beautiful breads) — I even had bags shipped directly from a mill, until that source dried up too. Having (re)embarked on this adventure I was quite resolved to follow through, unlike an attempt from six years ago which miserably petered out.

I am happy to report that my starter has survived, and thrived, since March. It crossed the channel and hung out in Brittany with us for a month, it came back with us, it has even had babies who, as far as I know (and hope!), are still alive and kicking in the neighbourhood. I will write more about my experiences with sourdough, but today I am baking these biscotti. It’s not exactly starting backwards, since the trickiest aspect of sourdough has been to find the rhythm of the starter, the bread, and especially the discard, without ever having to throw any away. It is safest to embark on a sourdough adventure with a few of these ‘discard’ recipes under one’s hat.

After some attempts and fine-tuning, these biscotti have just the right texture — the ideal balance of a hard crisp outside but ever so slightly yielding inside.

Sourdough biscotti
NOTE: This recipe should be used as a template, with many possible variations in the combination of nuts, fruits, and spices.
I particularly like walnuts/dried figs/fennel seeds and also almonds/anise, and I’m sure pistachio/apricot would also be great.

40g olive oil or melted butter
3 eggs
120g sugar
Zest from one lemon
50g sourdough discard
350g white spelt flour
Generous pinch of salt
This part of the recipe is the variable:
75g nuts (coarsely chopped almonds or walnuts, hazelnuts, pistachios, …)
50g dried fruit if using (dried figs, apricots, …)
1 Tbsp fennel or anise seeds

Method:
In a smallish bowl, whisk together the olive oil (or cooled melted butter) with the eggs, sugar, and lemon zest. Stir in the sourdough discard.

In another, larger bowl, mix the flour with the nuts and fruit, spices, and salt. Create a well and pour in the liquid ingredients. With a wooden spoon, using circular movements, mix to combine thoroughly. Finish by hand, knead a few times, and shape into a flat ball. => If the dough is so sticky that it seems impossible to gather into a ball, add a little flour.

Cover with a tea towel and let the dough rest at room temperature for at least 2 hours, until it feels risen and puffy (it doesn’t need to have noticeably increased in size).

Line a baking sheet with a piece of parchment paper. Shape the dough into two flat oblong logs and leave them to rest, covered, for another 30 min or so, until slightly puffy.

Preheat the oven to 200°C.

Bake the logs for 25 minutes at 200°C, then lower the temperature to 175°C and bake for another 15 minutes. The logs should be slightly coloured.

Remove from the oven, let cool enough to be able to handle, slice the logs, and return the slices to the oven for 5 to 10 minutes on one side depending on how thin you’ve cut them. Turn the biscotti over and cook for another 4 to 5 minutes => watch and check and bake to the desired colour.

The biscotti keep well in a sealed jar for a week.


%d bloggers like this: