Photo updated 2 February 2023
It feels wrong to write “crêpes” without an exclamation mark.
Because when you have grown up in France, crêpes invariably elicit a tingling sensation of irrepressible excitement. Crêpes were the rare summer treat sold in the van by the beach after a long hot hazy day. They were, on occasion, devoured at a boisterous restaurant with sticky tables and wooden benches. And, sometimes, crêpes were made at home. And, most probably, one of those times was February 2nd.
Today is La Chandeleur (Candlemas), which is technically a Christian festival that celebrates the presentation of Jesus at the Temple –piggybacked, like often, on an older mid-winter festival of light — but to most French men, women, and children, it is just “Crêpes Day” (Crêpes”!” Day). Every year we celebrate La Chandeleur, and if for me the thrill of crêpes may have abated somewhat, my children need those memories, too.
Usually February comes so fast that I end up haphazardly making a batch from a random recipe found online, or a very distant recollection of 12 eggs, 1 kilo flour, 1 liter milk, and some beer.
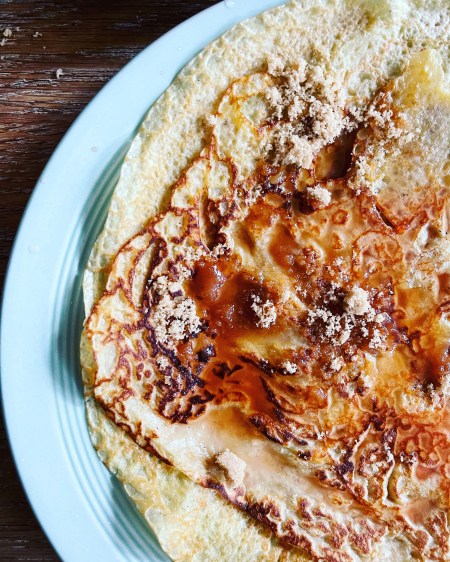
Until yesterday. I was asked to make a heap of crêpes for school, so I thought I would put the task to good use and test a few recipes. The best flour/egg/milk ratio I found was the Crêpes de Jeanne-Marie from La Bonne cuisine de Madame E. Saint-Ange. They are tasty enough to be eaten plain, though everyone knows that the real purpose of crêpes is the garnish: lemon and sugar, blueberry jam, walnuts and honey, banana chocolate, orange marmalade, apples and caramel, flambée with Grand Marnier…
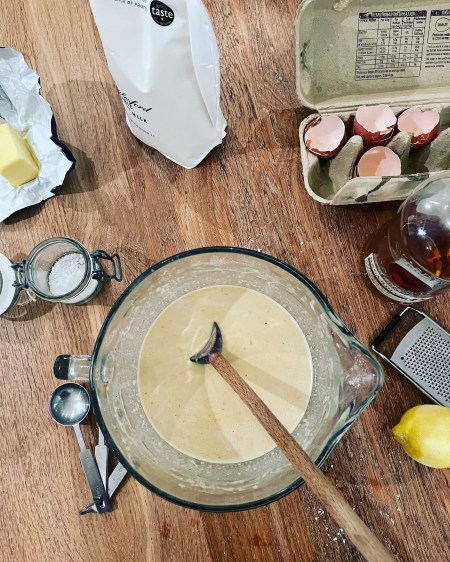
Photo updated 2 February 2023
Recipe inspired by Les crêpes de Jeanne-Marie from La Bonne cuisine de Madame E. Saint-Ange
4 Tbsps (55 g) butter
2 cups (250 g) flour
2 Tbsp sugar
1 tsp salt
6 eggs
1 3/4 cups (400 ml) milk
1 tsp pure vanilla extract
2 Tbsps rum
Zest from 1 lemon
Butter or clarified butter = ghee* or coconut oil for cooking
***
Melt the butter and remove from the heat.
In a large bowl, mix the flour with the sugar and salt and make a well in the mixture. Add the eggs, one at a time, stirring them into the flour with circular movements. Pour in the milk little by little, whisking continuously to obtain a smooth batter. Add melted butter, vanilla, rum, lemon zest, and stir well.
Cover and place in the refrigerator for at least 1 hour and up to 2 days.
When ready to make the crêpes, remove the batter from the refrigerator. The batter should be nice and runny, and at this stage will probably require a little more liquid. Add water, a couple of tablespoons at a time, until the perfect consistency is achieved. **The best way to check the consistency is to make one crêpe and decide whether it is thin enough. Most people agree that the first crêpe never turns out perfectly anyway – the pan isn’t hot enough – so it can easily be sacrificed as a test.**
To cook the crêpes: Heat a non-stick skillet until it is piping hot (a drop of batter poured onto the pan should sizzle) then lower the heat to medium. Grease the skillet with a paper towel dabbed with butter (or clarified butter or coconut oil – there should only be a faint layer of fat in the pan). Holding the skillet in one hand, pour a ladle of batter with the other, turning the skillet quickly in a round motion to cover the base with a thin and even layer of batter (if there is too much batter, pour it back into the bowl, if there isn’t enough, quickly add a little). As soon as the surface of the crêpe is dry (barely a minute or two depending on the heat), lift it with a spatula and turn it around (or flip the crêpe by tossing it, if you feel so inclined). Barely another minute and the crêpe is ready. Repeat, stirring the batter lightly with the ladle from the bottom up between each crêpe.
The best way to keep crêpes warm is to place them on a plate over a pan of simmering water, covered with another large plate or lid. They will not dry out that way.
Garnish with the filling of choice — classic sugar and lemon, or jam, chocolate, apple sauce, etc. — then roll or fold the crêpes to eat!
*Madame E. Saint-Ange suggests using clarified butter, which is a great idea since without the milk solids, the butter doesn’t burn as quickly. To clarify butter, melt in a small saucepan and continue to cook until the milk solids have risen to the surface and attached at the bottom. Skim off top layer and pour the clear butter without the solids into a clean bowl. Keeps well covered in the refrigerator.


