We have dyed eggs this way for as long as I can remember.
My grandparents lived in Switzerland, a place straight out of a storybook, and I have many Heidi memories, running up mountains and down meadows with cows in the field nearby, an isolated chalet in the distance, and the Alps all around. Summer smells of sunshine and succulents can conjure up those memories unexpectedly, but I sometimes invoke them willfully, through rituals like these: every year for Easter I dye eggs with leaf patterns, as we used to do.
In Switzerland we easily found natural dyes at the pharmacy (they are still readily available): walnut husks for deep brown, dried mallow petals for blues, and all sorts of bark for variations of yellow, orange, and red. But here in New York I’ve been compelled to use everyday ingredients, fruits and vegetables — even better?! If only they’d worked. For years I was woefully unsuccessful with all vegetable dyes except onion skins, which are brilliantly reliable and produce a stunning deep brick red.

I was on the verge of writing off homemade colors, had I not recently been taunted by blogs and photos posting deep-hued eggs tinted with spinach, turmeric, red cabbage… Why not me? I’d been using the wrong method. During all those years of stubbornly prepared and pitifully useless homemade dyes I had followed the instructions remembered from the little Swiss packets: hard-boil the eggs for 12 to 15 minutes directly in the colored liquid. This did work with onion skins but other vegetables left no trace on the shells whatsoever. Determined to get something out of my cabbage after all (and wised-up by some online reading) this time I waited for the liquid to cool, plunged the already hard-boiled eggs into the dye, and left them in the refrigerator overnight. Magic!
This time I’ve made the experiment with red cabbage only, but I know it is the way to success, and I see a bright multi-colored Easter-egg future ahead.

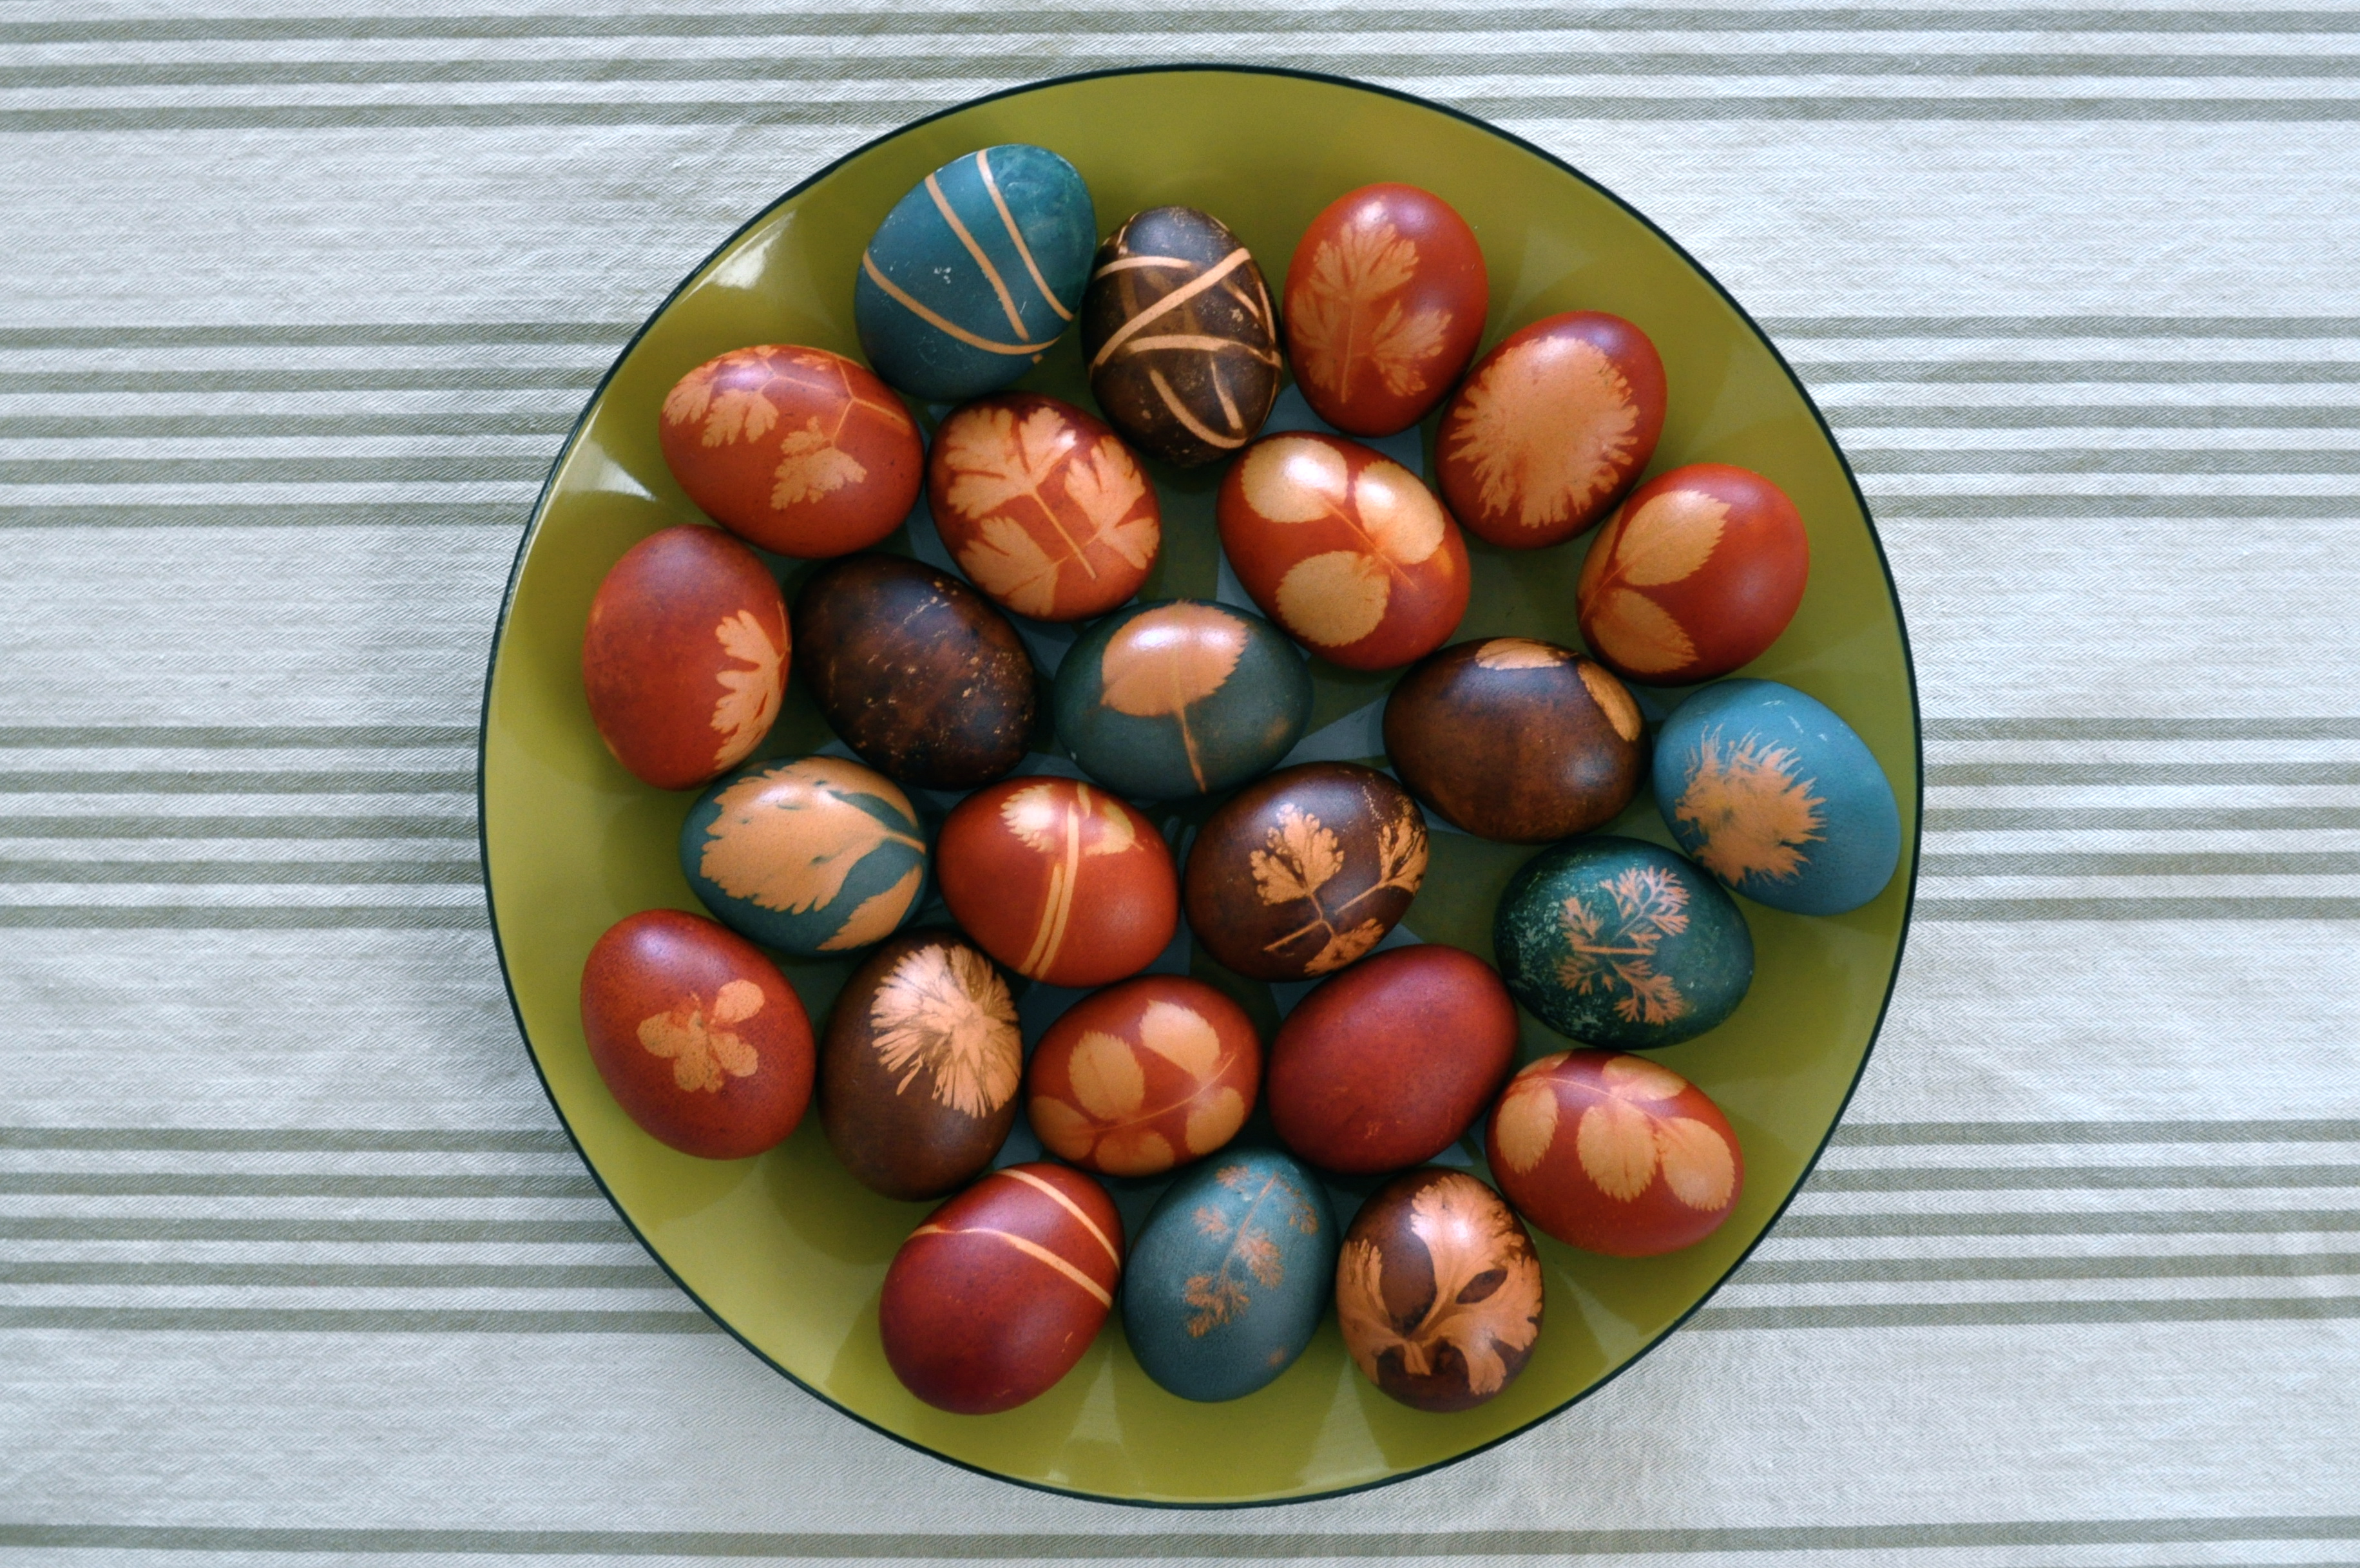
Red eggs = onion skins, blue eggs = red cabbage, brown eggs = walnut husks brought back from Switzerland
Approximately 2 cups packed onion skins
Approximately 3 cups shredded red cabbage
18 to 24 eggs
White vinegar
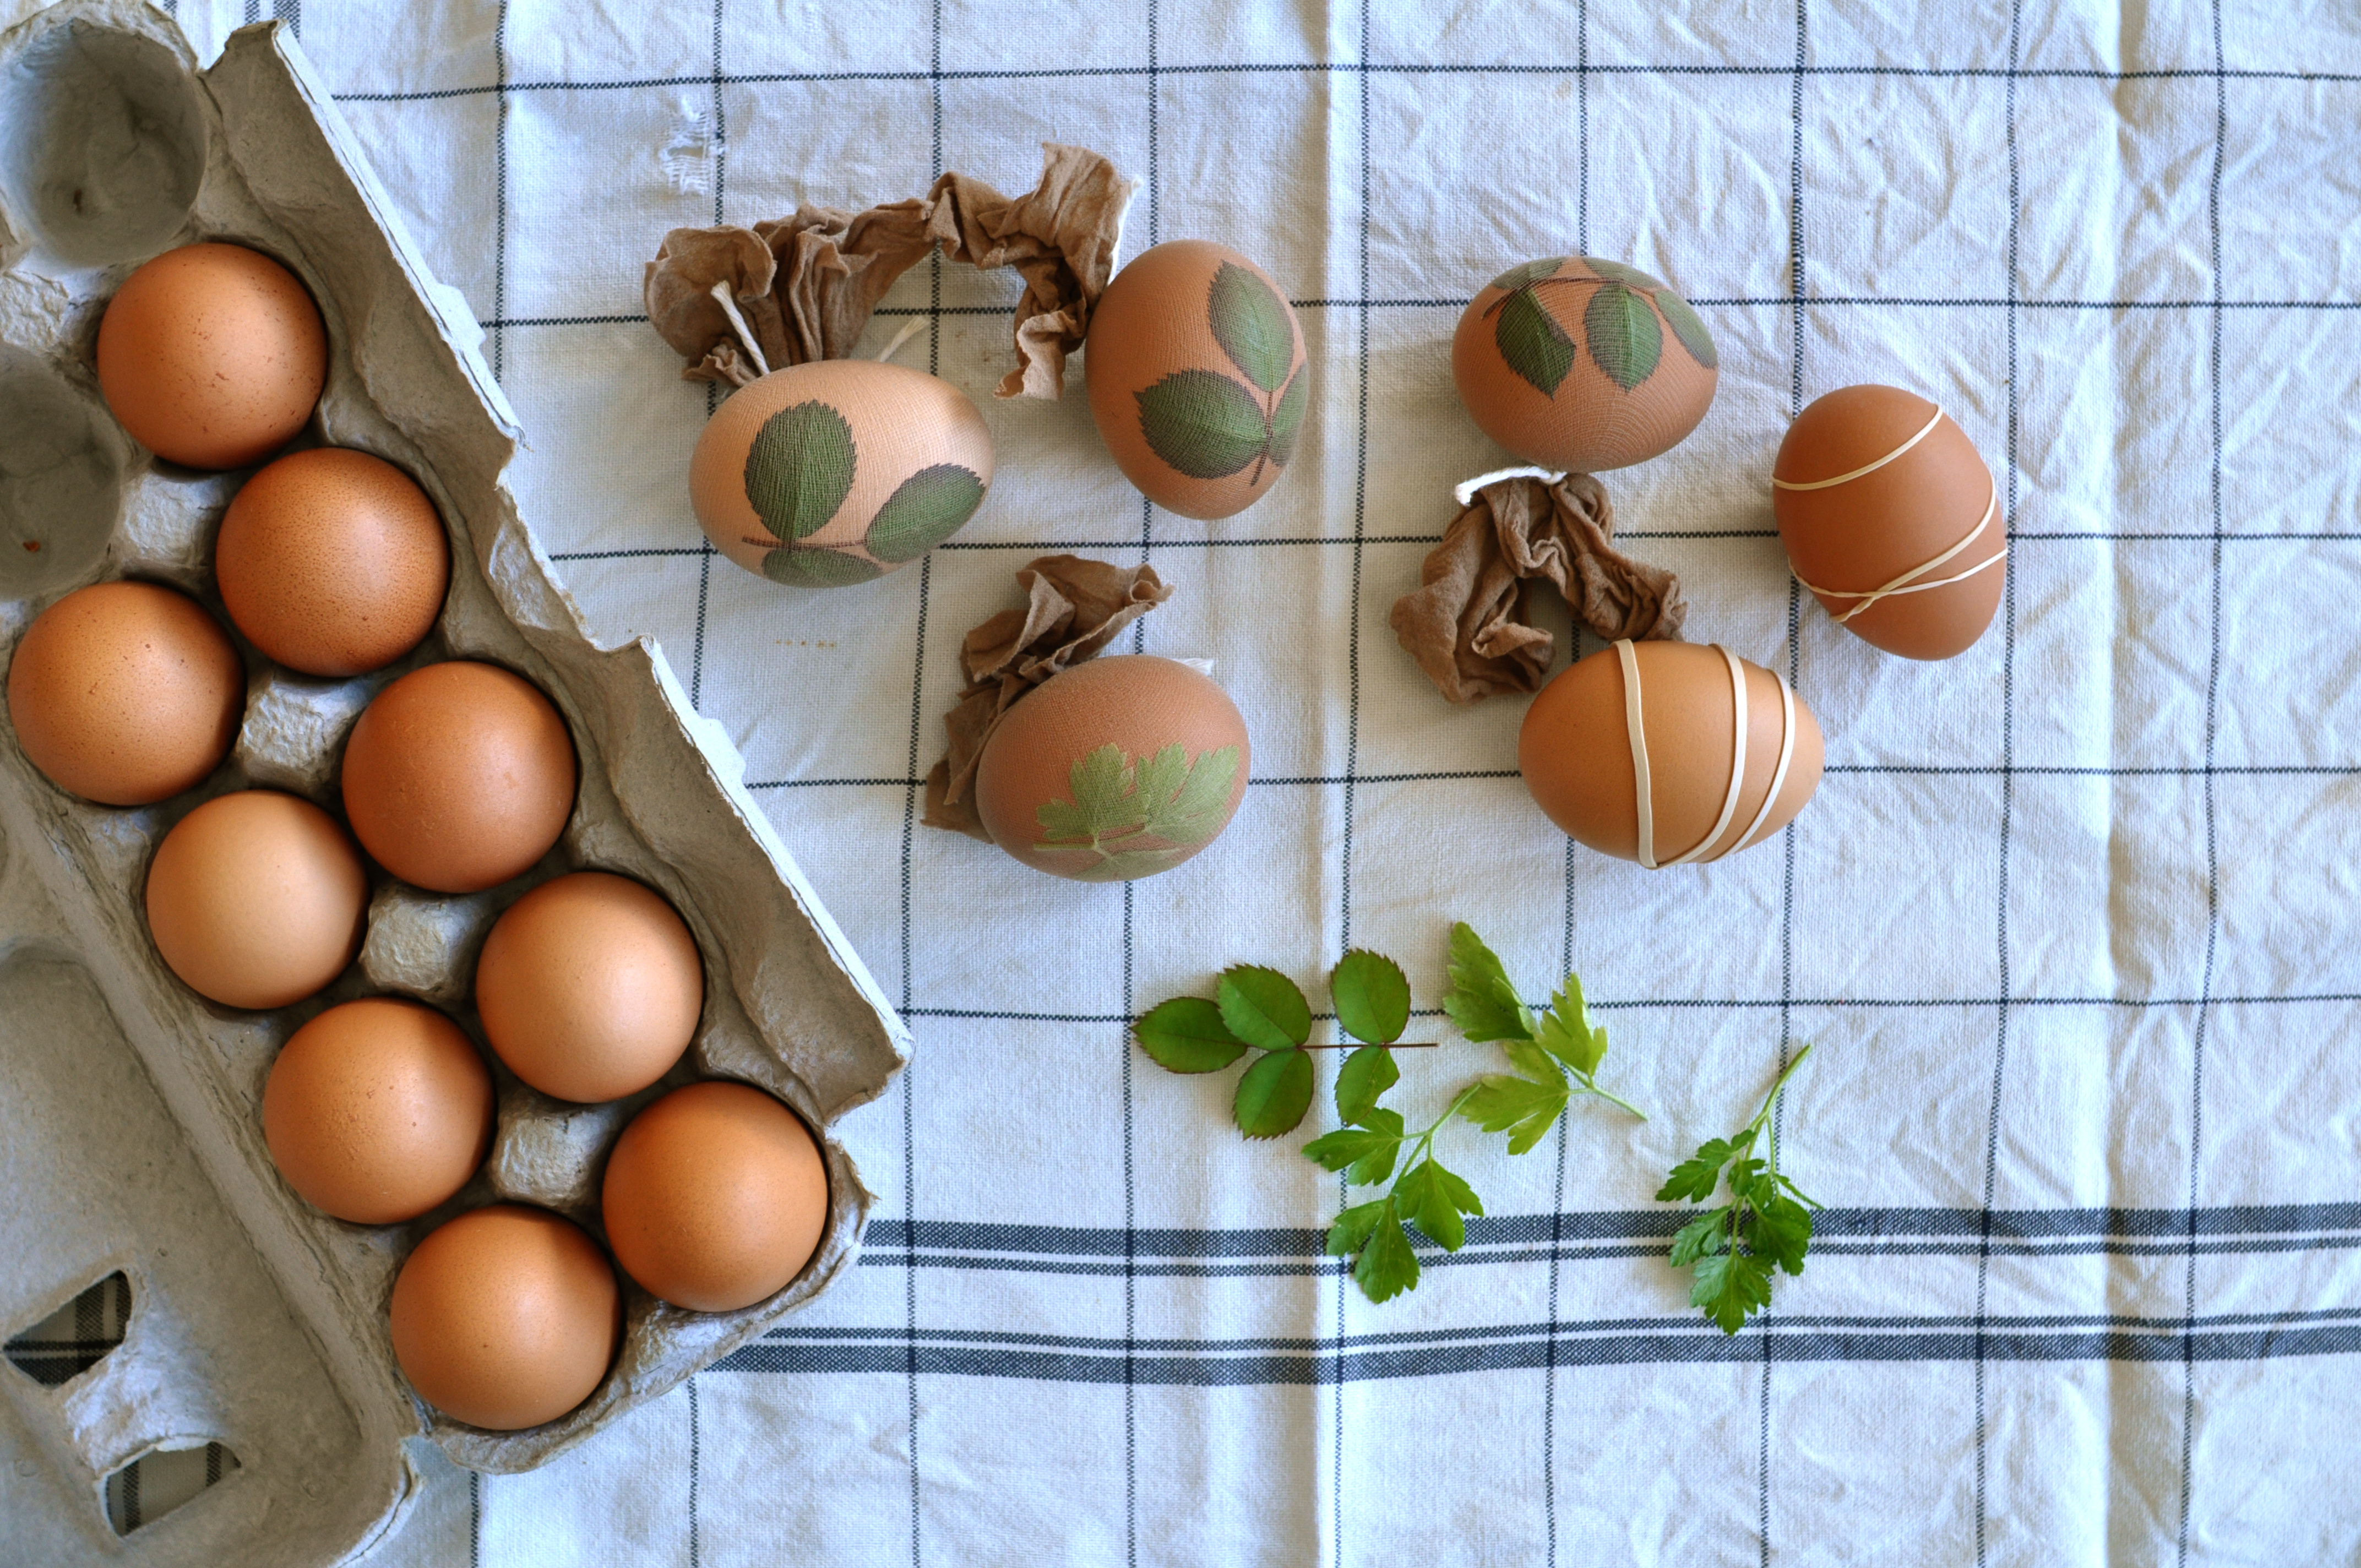
Freshly picked leaves and flowers
Old/cheap tan stockings
Kitchen string
*
Prepare the dyes in two medium saucepans: about 8 cups of cold water for 2 cups of onion skins and about 6 cups of cold water for 3 cups of shredded red cabbage. Bring to a boil and simmer gently for about 30 minutes. Let cool.
Meanwhile hard-boil the eggs: bring a large saucepan of water to boil, gently place the eggs inside, and simmer gently for 12 minutes. Run immediately under cold water. Let dry and gently rub the eggs with a little white vinegar.
Cut the stockings into 3-inch (8-cm) squares approximately.
Place a leaf or flower onto the egg; carefully place the stocking over the leaf and tighten the stocking over the egg by gathering it at the back, thereby gluing the leaf to the egg. Twist the stocking to tighten as much as possible then bind it with a piece of string. **Alternatively, we also just tie rubber bands over the bare egg to create line motifs.**
Place the eggs in large jars, pour the cold dye over the eggs, and leave in the refrigerator until the egg acquires the desired hue (this can take anywhere from a few hours to a day, as desired).
Cut the stocking at the string and carefully remove it and the leaf (or flower) to reveal the design. **Be mindful not to scratch the egg as the dye can rub off while it is still wet.**
Once the eggs are dry, rub with a little oil for shine.

*
Related posts
Happy Easter!