Posts Tagged ‘meat’

A good steak with anchovy and herb butters and shallot confit

15 May 2014

photo(18)

Key, of course, is the quality of the meat. Beef should be grass-fed and dry-aged. To say I choose my homes according to their proximity to a good butcher is exaggerated, but we’ve been lucky for a while now, with, for years, excellent meat just a few blocks away. There was Ottomanelli in the West Village, Harlem Shambles uptown, and, here in London, we live close to another great butcher, Godfreys.

The cut is important, too. Meat on the bone is typically more flavorful, and thick cuts (an inch and a half at least) are much easier to cook to perfection: very brown and crisp on the outside but perfectly rare in the center.

There are debates over whether steaks should be seasoned early or whether salt left on the meat absorbs some of the moisture. I’ve decided to settle into the camp that favors early seasoning, allowing the salt to seep into the cut. Since meat should be brought to room temperature before cooking, I take the steaks out of the refrigerator about one hour before dinner, season them generously with coarse salt and freshly ground pepper, and let them sit a while.

It is useless to try to give a cooking time. Every steak is different, depending on the cut, its thickness, its initial temperature. I’ve found that a cast-iron skillet works best, and it should be very hot before the meat is added. A combination of butter and olive oil in the pan is good, as the butter is delicious and won’t burn as quickly together with the olive oil. Ideally one could add herbs to the rendered fat and baste the steak as it cooks.

Sear the meat on very high heat, turning it over once the first side is evenly brown. The steak is perfect when the outside is brown and crisp, like a crust, and the meat has contracted, but just barely. Not too much or it is overcooked.

Like all meat, steak needs to relax a little before being cut; about ten minutes, just the time needed to get the rest of the meal on the table.

Serve the steak with the butters, shallot confit, and some strong mustard.

IMG_4120

IMG_4119

Herb and anchovy butter
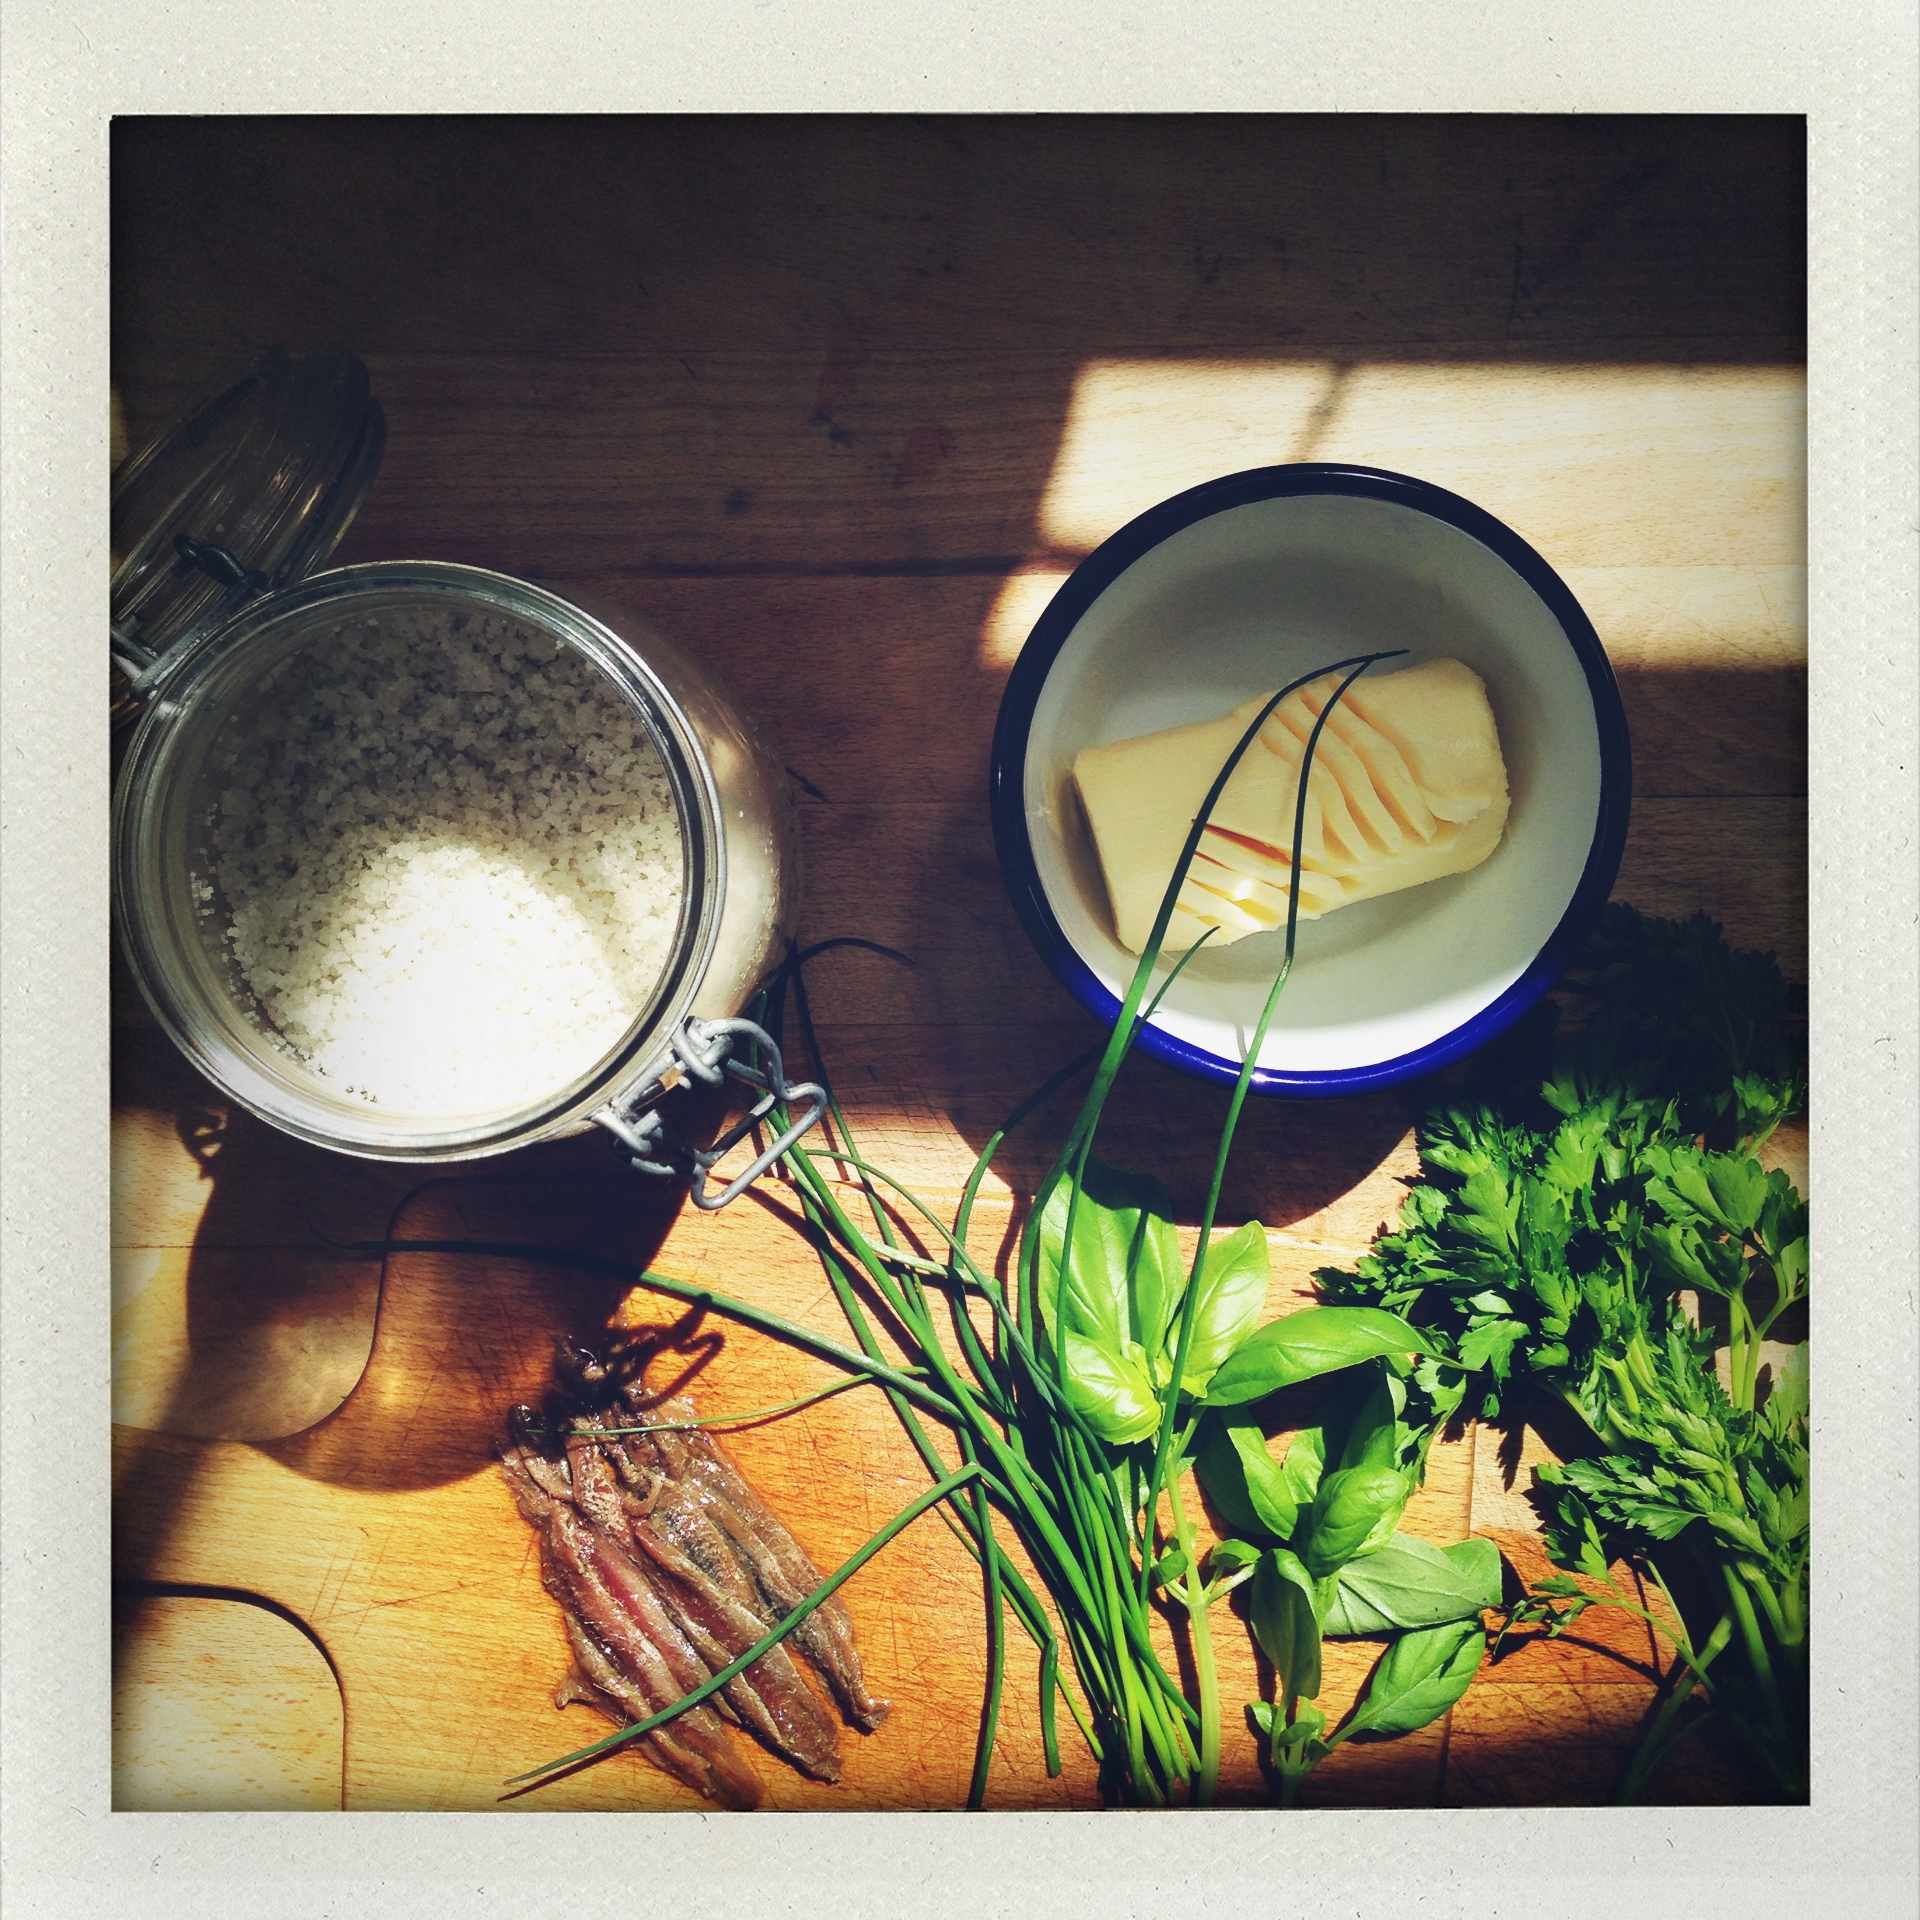
These must be made a least an hour ahead, and easily the day before.
I make one butter with anchovies, parsley, and basil, and the other with just herbs and sea salt.

250g good unsalted butter

A generous handful of parsley

Small bunches each of basil and chives

A dozen anchovies in oil

1/2 teaspoon coarse grey sea salt

Cut the butter into two equal parts, place each in a small bowl, and let sit at room temperature until it becomes soft and easy to work with (probably about an hour).

Wash and shake the herbs dry. Pick the parsley and basil leaves from the stems.

Separate the herbs into two groups: one with half the parsley and a few basil leaves, the other with approximately equal amounts of parsley, basil, and chives.

Finely chop each group of herbs.

Drain as much oil from the anchovies as possible, and chop finely.

Using a fork, mix one of the softened butter with the anchovies, parsley, basil; the other with the parsley, basil, and chives, and the salt. Mix each well until the butter is homogeneously speckled with the herbs.

Transfer each piece of butter into a small serving bowl, even out the surface, and let cool in the refrigerator for at least an hour. The butter will keep for a while, though it will be best for a couple of days.
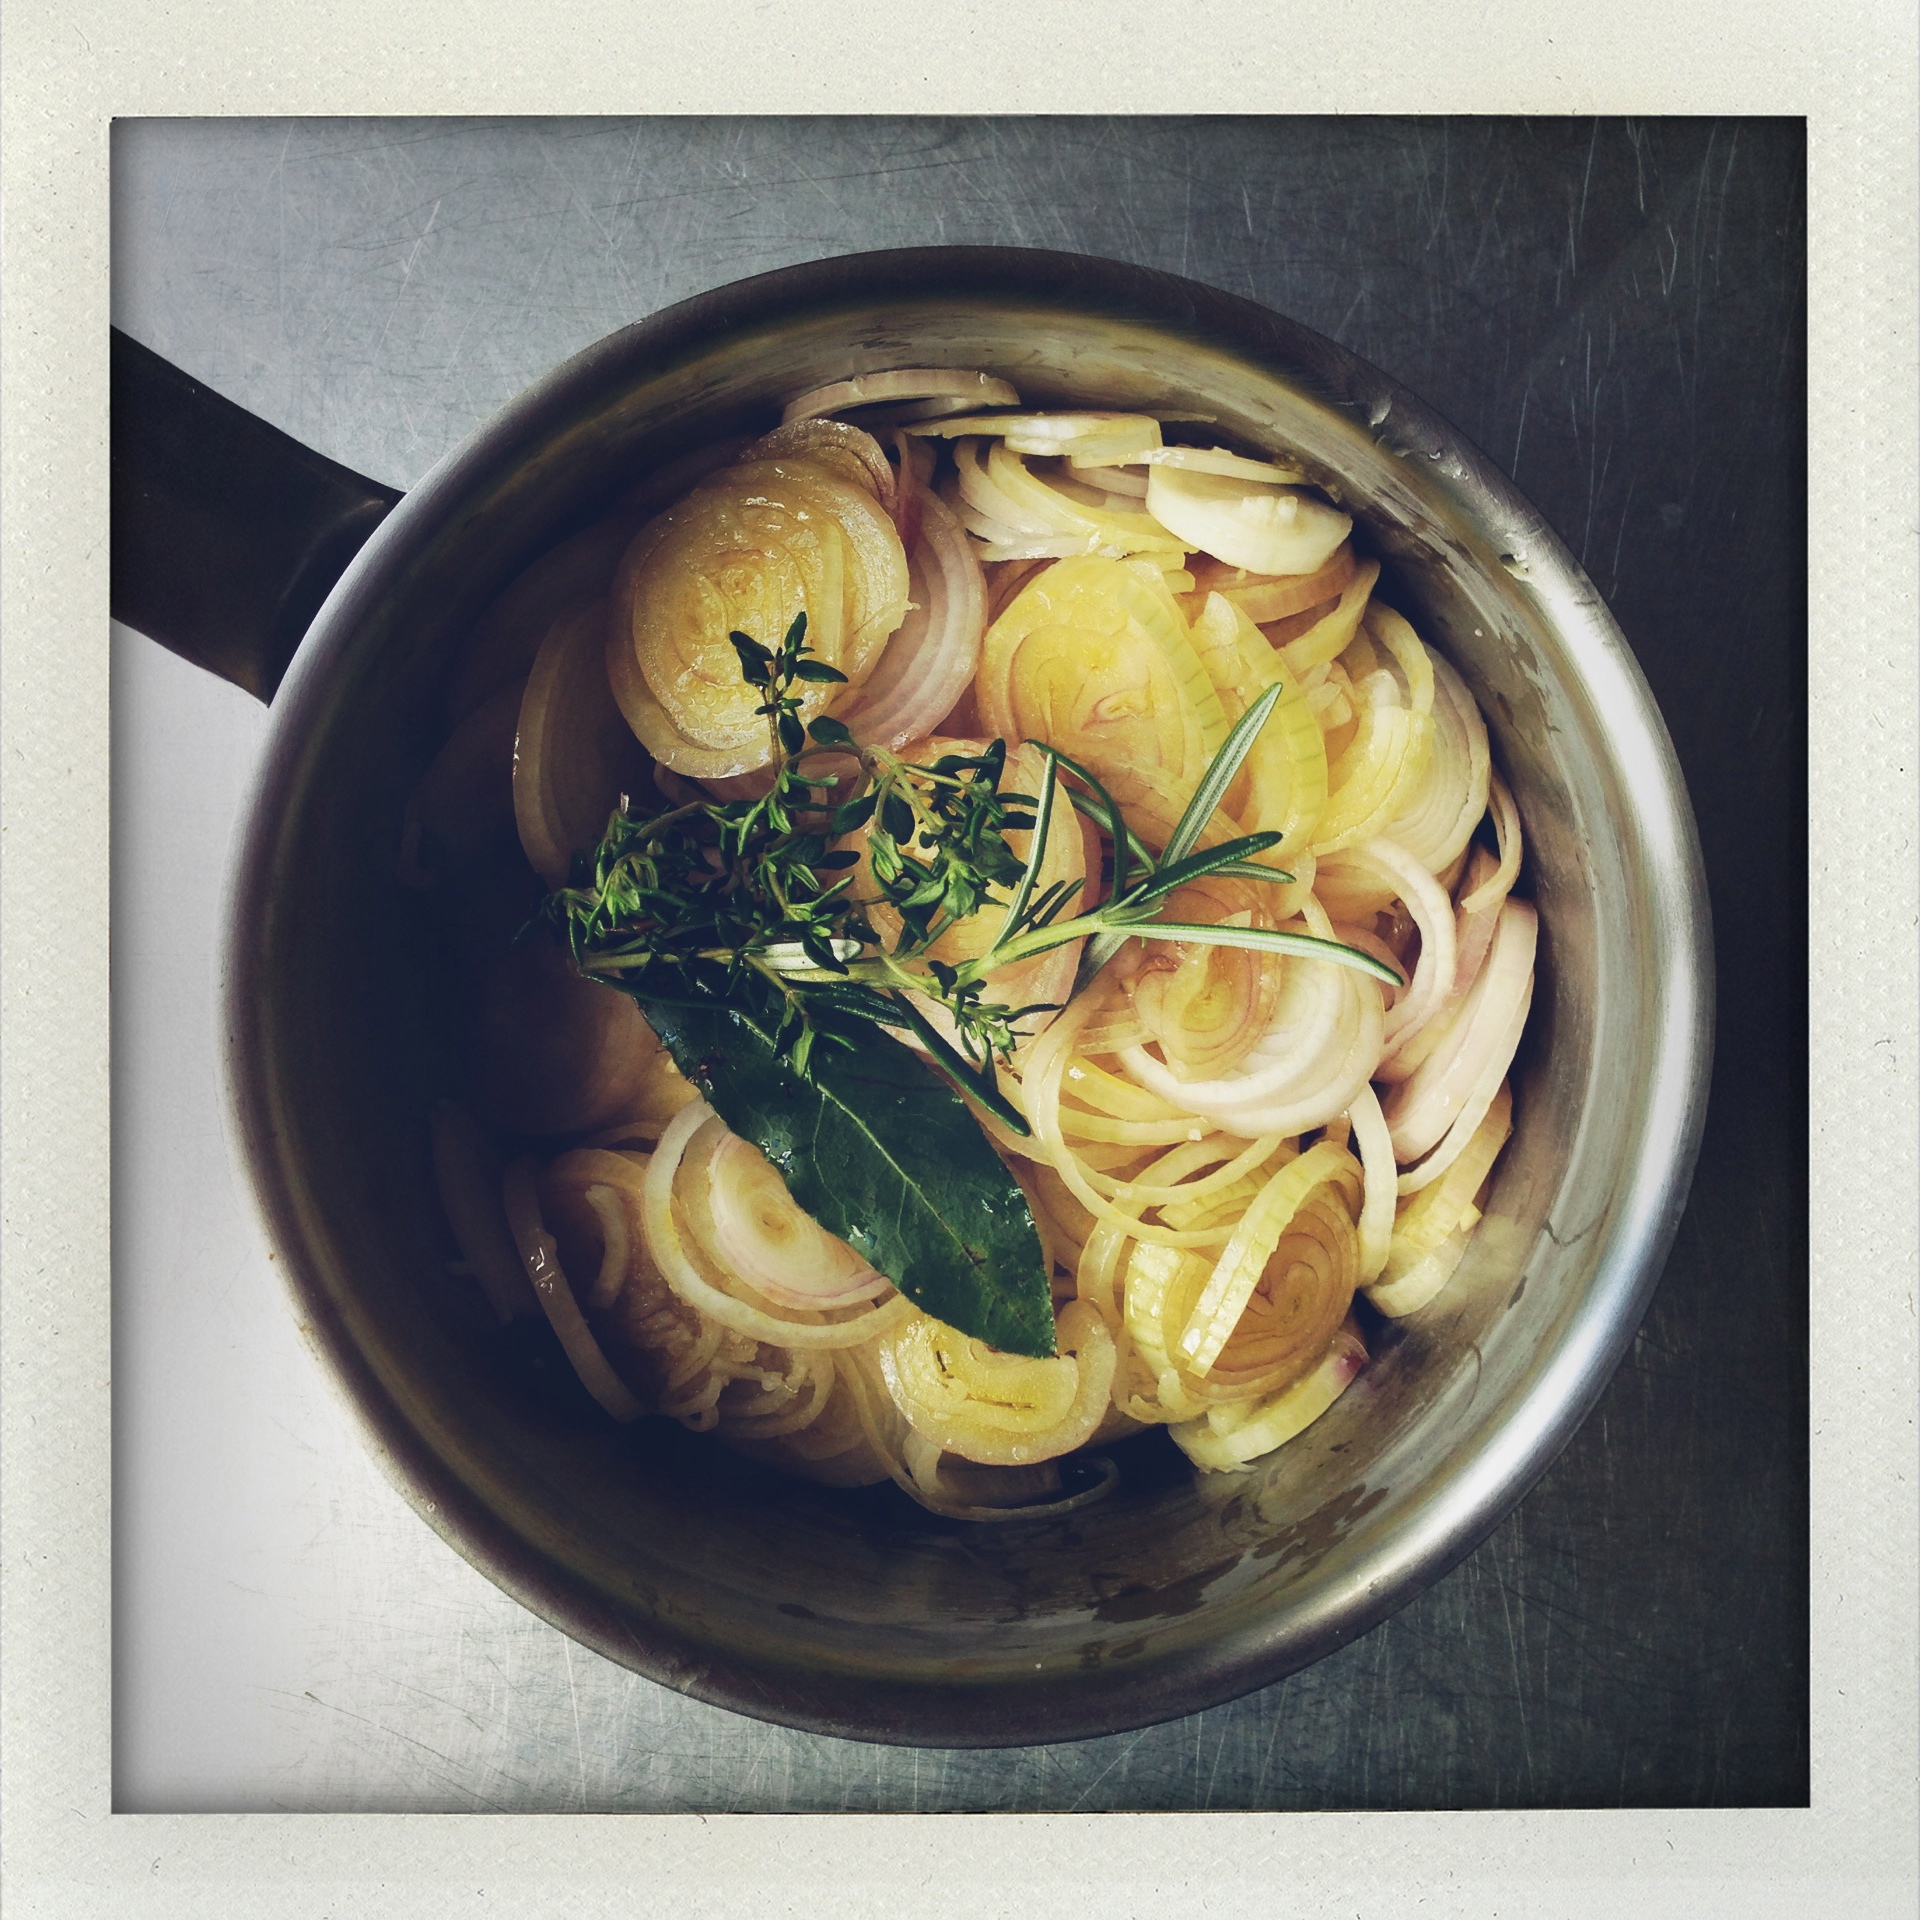
IMG_4134

Shallot confit

3-4 large shallots

Olive oil

Small sprig fresh thyme

Small sprig fresh rosemary

One bay leaf

Sea salt

Peel and slice the shallots into thin-ish slices. (The shallots can be cut either crosswise or lengthwise.)

Place in a very small saucepan with enough olive oil to comfortably blanket the bottom of the pan. Add the herbs and a good pinch of salt.

Cook on very low heat, staying close and stirring regularly, until the shallots are a deep golden. **In case the bottom does burn, quickly transfer the rest of the shallots to a different pan so the burnt flavor doesn’t tarnish the confit.**

Let cool a little and remove the herb stalks before serving.

The confit can be made ahead and kept in the refrigerator but must be slightly reheated before serving, just beyond the point where the oil isn’t congealed to awaken the flavors.

Essential slow-cooked lamb shanks

15 November 2013

photo(11)

Some recipes are indispensable; these lamb shanks are of that breed. Incredibly good and remarkably easy. I simplified the original recipe slightly (not that it was complicated to begin with), and it could be further modified and adapted without much risk. This isn’t high flying patisserie, it’s a simple home-cooked dinner.

For another occasion I may take it up a notch as per the original recipe, by first rolling the shanks in finely chopped rosemary, crushed coriander seeds, dried chilli, and a spoonful of flour before browning the meat. But recently I had no white wine, forgot the anchovies, even the garlic. It was fine. Really good in fact. The dish would live on without the carrots, and might even survive with no tomatoes (compensate with more celery and/or carrots).

The essential elements are: onions and celery, some acidity (wine, vinegar), aromatics (rosemary, oregano, marjoram), and of course the magic of slow cooking. Here I followed the instructions and the result is perfect.

Recipe mildly adapted from Jamie Oliver’s first book The Naked Chef

2 medium-sized onions

5 – 6 ribs celery

1 – 2 carrots

1 – 2 garlic cloves

4 lamb shanks

Sea salt and freshly ground black pepper

Olive oil

2 Tbsps balsamic vinegar

2 Tbsps sherry or good wine vinegar

3/4 cup (200 ml) dry white wine

6 anchovy fillets

28 oz. can whole plum tomatoes

1 Tbsp fresh rosemary leaves

1 tsp dried oregano or marjoram

Fresh flat-leaf parsley, basil, or marjoram for serving

Preheat oven to 350°F (175ºC)

Chop the onions, not too finely. Halve lengthwise then slice both the celery and carrots. Finely slice the garlic.

Season the lamb shanks with salt and pepper. Heat a little olive oil in a heavy-bottomed saucepan, brown the shanks on all sides, remove from pot and set aside. Pour out the grease and wipe away any burnt bits.

Pour a little more olive olive into the pot and cook the onion until just starting to turn translucent. Add the celery, carrots, and garlic, season with some salt, and cook for 7-8 minutes until the vegetables being to soften.

Add the vinegars and cook for 1 or 2 minutes. Pour in the white wine and simmer for another couple of minutes.

Meanwhile chop the anchovies, drain the tomatoes and cut them in half lengthwise. Add the anchovies and tomatoes to the pot. Swirl the pan to shake up the flavors and place the lamb shanks snugly on top of the sauce.

Finely chop the rosemary to be sprinkled with the dried oregano (or marjoram) onto the shanks. Put on the lid and place in the oven. After 45 minutes turn the shanks over in the sauce (so that the part that wasn’t submerged now basks in the liquid) and place back into the oven for the another 45 minutes.

Now remove the lid, turn the shanks over once more, and cook for another 1/2 hour. (Altogether the shanks cook for 2 hours: 1 1/2 hours covered, 1/2 hour uncovered.)

Let rest and cool for at least 10 to 15 minutes before serving. Or better yet, let cool completely, refrigerate, and reheat the next day in a 350°F (175ºC) oven for about 20-30 minutes.

Serve over rice, polenta, or mashed potatoes sprinkled generously with chopped fresh herbs.

Slow-roasted pork shoulder (or butt)

2 March 2011

The long story of the slow-roasted pork shoulder starts in 1998, when I acquired my first cookbook: the River Cafe Cookbook Two (Yellow). The word at the time was that this wonderful cookbook not only had delicious recipes, but that they all worked. Indeed, this and the other River Cafe Cookbooks have been my number one go-to cookbooks over the years. I love the recipes and they always worked out very well.

For these past twelve years, the recipe for a slow-roasted shoulder of pork has smiled up at me, enticingly, from page 248, but I never tried it. One of the reasons was that I rarely ate pork, and never cooked pork, mainly because I could not find good pork. Until I discovered it at Union Square market; Flying Pigs Farm has single-handedly transformed me into a cooker of pork.

But I still didn’t make the slow-roasted pork shoulder. After so many years, the recipe seemed frozen in the forbidding aura of “I will make this one special day” dishes.

As I recently became somewhat fixated on slow-roasted lamb shoulders, and slow-cooked things in general, I gathered the necessary momentum to try the promising, melt-in-your-mouth, delicious slow pork. And it didn’t work. The recipe calls for “dry roasting” on an open rack in the oven. The flavor was amazing and the crackling skin predictably perfect, but the meat wasn’t falling off the bone. It was tasty and not forbiddingly dry, but not what I had expected. Since I had only been able to cook it the minimum suggested amount of time (8 hours), I decided that must be the problem. So I tried again. I cooked the second pork shoulder some 18 hours. Same result.

Rather than try to cook it even longer (the recipe says 8-24 hours), I decided to look elsewhere. Surely Hugh Fearnley-Whittingstall must have a failproof slow-cooked pork in his River Cottage Meat Book. Alas, the recipe basically starts: “Actually, versions of this dish have already been enthusiastically championed by both the River Cafe and Nigella Lawson” and proceeds to give the same cooking method. Not helpful.

Now I really did acknowledge that the problem must be me, but I just wasn’t convinced that cooking the pork even longer would have done the trick, and how many pork shoulders need I bungle before the winter is over?

So I perused my cookbook shelves for a different recipe, one that cooked pork in a closed dish. And, not surprisingly, found it with David Chang. His cookbook Momofuku‘s pork shoulder for ramen has a simple salt/sugar rub, but I was looking for cooking time and temperature.

The answer is 6 hours at 250°F (120°C). It was perfect.

***

The quantities below are for a piece of meat of approximately 6 lbs (3 kg). The seasoning should be adjusted according to size, but the cooking time remains the same.

Note from March 2012: I have revised the cooking method. I believe starting the pork on low is a better guarantee to completely and deliciously tender meat, and finishing on high assures a crisp outside.

1 bone-in pork shoulder or butt

8 garlic cloves

2 Tbsps Maldon sea salt (1 Tbsp if using regular salt)

6 Tbsps fennel seeds

Freshly ground black pepper

3 small dried red chilies

2-3 Tbsps olive oil

Juice from 3 lemons

***

Preheat the oven to 250°F (120°C).

In a mortar, crush the garlic together with the salt, add the fennel seeds, a generous amount of back pepper, the crumbled chilies, and mix with the olive oil to create a thick paste.

Remove the skin and trim some of the fat. Cut deep, long gashes into the pork on all sides. Fill the gashes with the herb/spice mixture and rub all over the pork and place in an ovenproof dish with a lid (such as a Le Creuset dutch oven), then pour the lemon juice over the pork.

Cover with a tight fitting lid (or seal with aluminum foil) and cook in the low oven for 5 to 6 hours, basting occasionally.

(Optional: Finish by increasing the oven to 450°F (230°C), take off the lid, and brown on high heat for 20 to 25 minutes.)

Remove from the oven and let the meat rest for about 30 minutes before serving.

Note: Like most slow-cooked dishes, this pork will taste even better reheated. So if planning ahead, cook the pork on low the day before for about 4 1/2 hours to 5 hours. Let it cool slowly and once cold place it in the refrigerator. On the day you plan to serve the dish, reheat the meat at 250-300°F (120-150°C) for about 45 minutes, then turn up the heat to crisp up the outside as shown above — 450°F (230°C) for 20 to 25 minutes, as needed.

*

Related post:

Lentils

Slow-roasted lamb shoulder

Braised chicken legs with cherry tomatoes

3 October 2010

Tomatoes were everywhere at the market this week. Red, yellow, cherry, heirloom, green – it was hard to concentrate on anything else, especially knowing that tomatoes will be the first to disappear from the fall bounty. When I got home I realized I had bought only tomatoes.

The little cherry tomatoes from Keith’s Farm were very ripe and burst from the sun, and they immediately brought to mind a meal prepared by my friend Kate a few years ago: braised drumsticks with cherry tomatoes and lots of garlic. She made it in a large round earthenware dish she had just brought back from Morocco. It was stunningly beautiful and delicious. I’ve never asked Kate for the recipe but I have attempted to recreate it and make it quite regularly.

***

For 4

Olive oil

8 chicken thighs and drumsticks (or alternatively, only thighs or only drumsticks)

2 medium onions (red or yellow)

Cherry tomatoes

7 or 8 whole garlic cloves with skin

2 bay leaves

Fresh basil, marjoram, or oregano according to taste or availability

***

Preheat oven to 350°F (170°C)

In a large skillet heat olive oil and brown the chicken, a few pieces at a time. **When browning meat it’s important not to overcrowd the pan (the meat releases water and if the pan is too crowded it will stew rather than brown) and to let the meat get really nice and brown, which might take 7 to 10 minutes (light golden is not enough to caramelize and bring out the flavors).**

Remove chicken legs and set aside.

Thinly slice onions and add to pan in which you just browned the chicken (with a little more olive oil if necessary). Season with salt and pepper, and cook until golden.

In a large ovenproof dish make a bed with the onions,* add bay leaves and herbs, then the pieces of chicken, which should fit snugly without overlapping. Season with salt and pepper. Poke the cherry tomatoes with a fork or tip of a knife so the juice can escape, and throw them with the garlic cloves over the chicken. Season again. Place in oven and let simmer for about 30 to 40 minutes. The meat should fall off the bone.

*To limit the number of pans used and if the skillet is ovenproof, leave the onions in the skillet, add the herbs, chicken, tomatoes, and garlic, and slide it in the oven.

*

Related posts

Roast chicken with lemon and fennel seeds

Spaghetti with cherry tomatoes, mozarella, and basil

*

Follow @nettleandquince on twitter

Slow-roasted lamb shoulder

19 September 2010

Every summer I spend a few weeks at my sister’s house in Brittany, and I come back every time with a new culinary obsession inspired by countless hours spent around the kitchen with my family cooking, eating, and talking about food. One year my preoccupation was yogurt, another time marinated olives, and this year it is slow-roasted lamb. There simply is no better way to cook – or eat – lamb. It’s completely stress-free and utterly delicious.

This is an approximate recreation of my sister’s succulent lamb shoulder. The gist of the recipe is to rub the lamb with herbs and garlic and let it cook for hours in a very low oven.

***

The quantities below are for a piece of meat of approximately 6 lbs (3 kg). The seasoning should be adjusted according to size, but the cooking time remains the same.

2 generous sprigs each of sage, rosemary, thyme, summer savory

1 Tbsp coriander seeds

2 Tbsps coarse gray sea salt

6 garlic cloves

Black pepper

Olive oil

1 bone-in lamb shoulder

***

Preheat oven to 425°F (220°C).

Finely chop the herbs. In a mortar, coarsely grind the coriander seeds and set aside. Next grind together the salt and garlic cloves. Mix in the herbs, coriander, and a generous amount of black pepper. Finally, drizzle 3-4 tablespoons olive oil to make a coarse paste.

Trim the fat from the lamb and rub with the herb paste on all sides. Place the lamb shoulder in a large cast-iron pot.* Put the lamb in the oven and let roast at a high temperature for 15 minutes.

Reduce heat to 300°F (150°C), seal the pot with a tight-fitting lid (or with aluminum foil if using a roasting tray), and forget the lamb in the oven for 3 or 4 hours.

The meat will fall off the bone, and it will be even more delicious reheated the next day.

*Another option is to use a roasting pan tightly sealed with aluminum foil, though the result is not quite as satisfying as the meat does not seem to brown in the same way.


%d bloggers like this: