Archive for the ‘Vegetables’ Category

All summer long ratatouille

11 July 2022

All these years and I’ve been making ratatouille backwards. For as long as I can remember, I’ve started with the aubergines and finished with the tomatoes. I don’t know why and it should (obviously!) be the other way around.

There are many ways to make ratatouille. Some profess each vegetable should be cooked separately to preserve its individual taste before all are combined and left to confit together very slowly. This sounds terribly delicious. On the other hand, the more distant origin of the word ratatouille — from the Occitan ‘ratatolha‘ — is that of a coarse (bad?) stew. And while there is nothing bad about my ratatouille (even the backwards one that was my habit!) I like its humbler origin — an effortless dish for life in summer.

The whole point of ratatouille is simplicity. Its preparation — cutting vegetables, just agree on the approximate size — can enlist anyone idling around. It is easily made in large batches for imprecise, extended, friends and family meals. It should, in fact, be made in enormous quantities because cold leftover ratatouille is even better. And in any case it keeps for a few days. It goes equally well with grilled fish, roast chicken, meat on the barbecue, as a lunchtime ‘salad,’ or stirred into a mess of eggs for a ratatouille frittata.

It is the quintessential summer dish.

Right-way-around ratatouille recipe

The quantities are suggestions only, for approximate ratio. I usually make a much larger batch.
The size and shape (cubes vs slices) into which the vegetables are prepared depends on my mood or who is cutting. The important thing is that all the vegetables follow the same principle and are roughly the same size.

Onions (3 medium)
Olive oil
Salt (I like to use coarse grey sea salt)
Garlic (4 cloves)
Red or green peppers (one)
Tomatoes (3 or 4)
Aubergine/eggplant (1 medium)
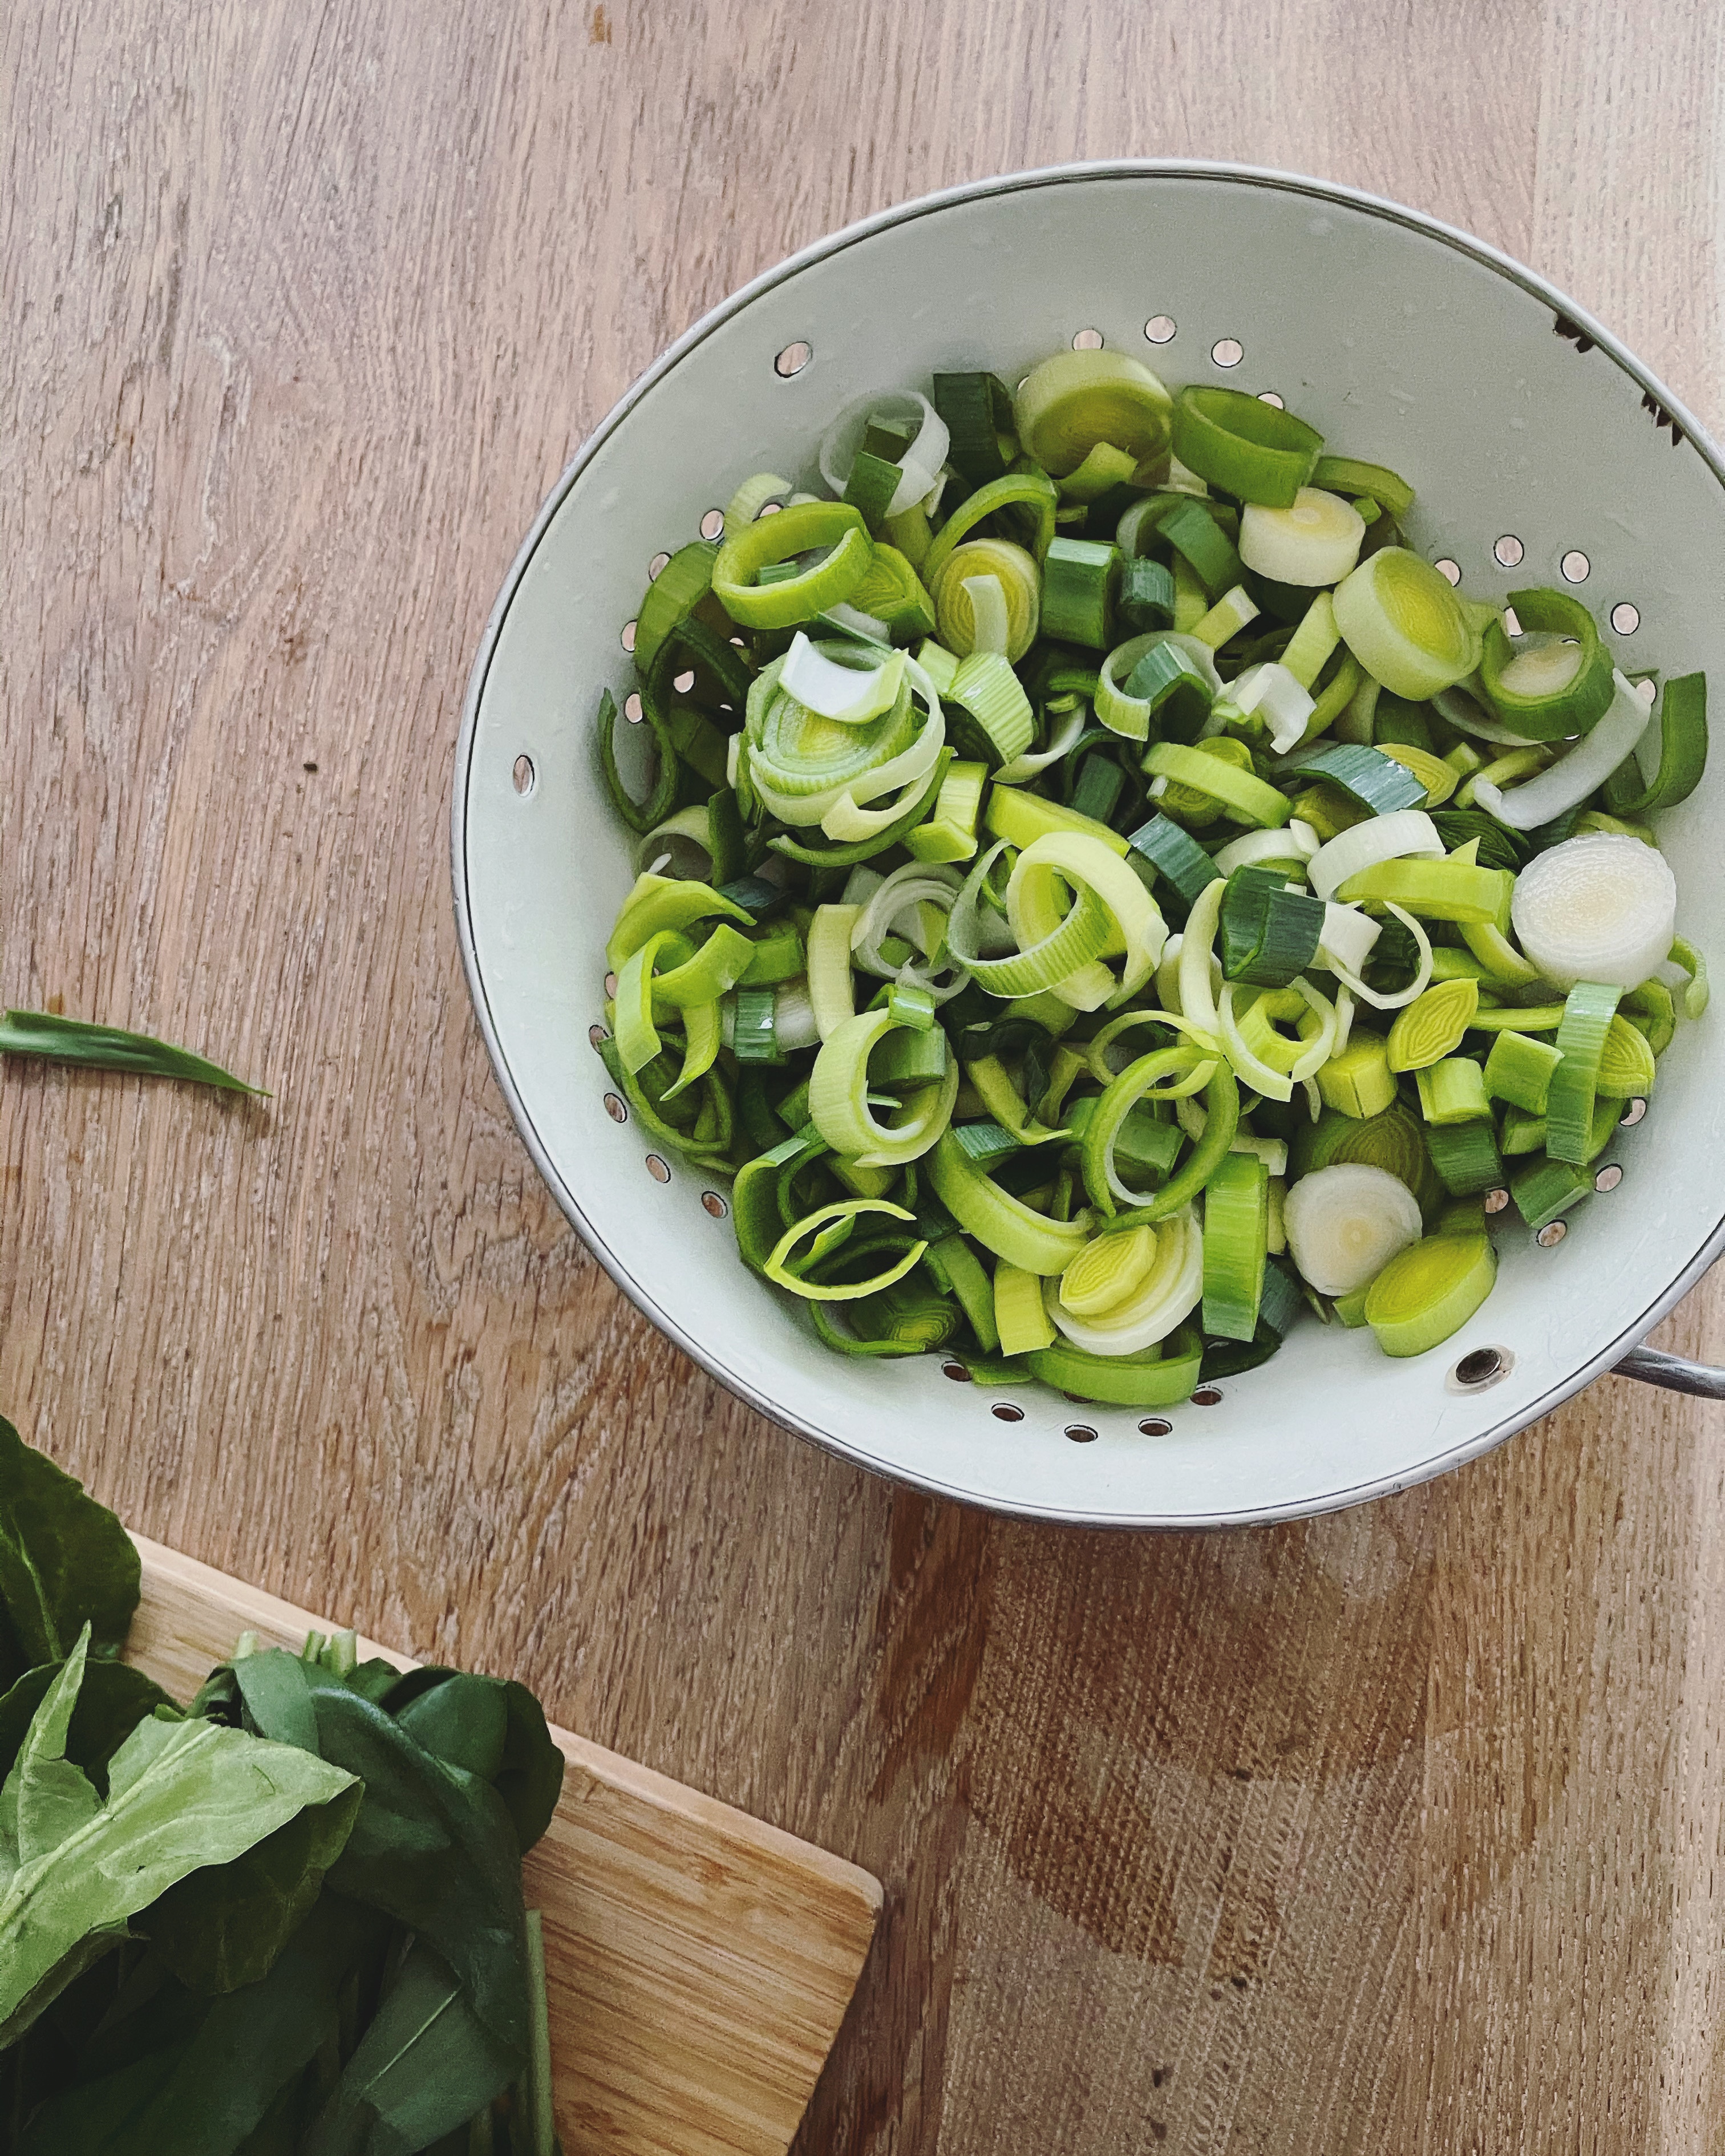
Courgettes/zucchini (5 or 6 smallish ones)
Bay leaves
Fresh rosemary, thyme, Summer savory (one or all of these)
Good wine vinegar (For this I like to make use of my small bottle of moscatel vinegar, which is slightly sweet, but any good wine vinegar is fine)

Peel the onions and cut them into large dice (or half moons).

Pour enough olive oil to just cover the bottom of a heavy-bottomed saucepan, turn on the heat (medium to low). When the oil is hot, after a brief minute, put int the cut onions, stir, salt with a good pinch, and let the onions brown, lid on (keeping an eye and stirring occasionally so they don’t burn), while prepapring the garlic and peppers.

Squish the garlic cloves with the side of a knife, remove the husk, and cut coarsely.

Wash, deseed, and cut the pepper into small cubes (or thin slices).

Once the onions are starting to turn golden, add the garlic and peppers, stir, close the lid, and let stew while preparing the tomatoes.

Wash and cut the tomatoes into chunks (or thin wedges). Add them to the pot with another good pinch of salt.

Let the onions, garlic, peppers, and tomatoes cook until they start melding and resembling a sauce.

Meanwhile, prepare the rest of the vegetables: Wash, remove the stem, and cut the aubergines (eggplant) into slices, then each slice into cubes. Wash, remove the end, and cut the courgettes (zucchini) into slices or cubes.

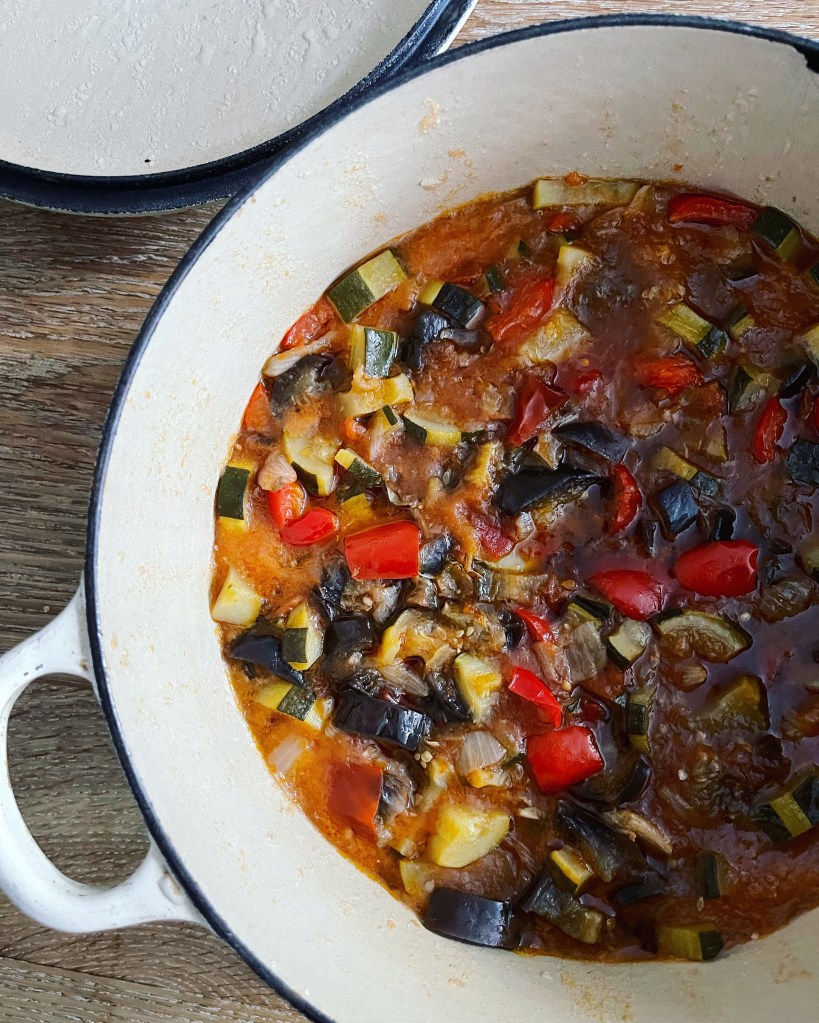
When the vegetables in the pot begin to ressemble a tomato-y sauce, add the aubergines and courgettes with another generous pinch of salt. Add the herbs, any mix as strikes your fancy. I think bay leaf is indispensable.

Cook for at least an hour, perhaps an hour an a half, over low heat, until all the vegetables have softened completely.

Stir in one or two tablespoons of vinegar, just enough to tease out the acidity.

Eat hot or at room temperature or cold out of the fridge the next day.

Student food (or weeknight meal) | Chicken and broccoli

28 February 2022

This is one of my favourite weeknight meals, so good and very quick to make, but I’m placing it in the ‘student food‘ category because Leo, who is currently at university, immediately asked me how to make it when he saw a picture I’d posted on instagram. Laggard that I am — I was on holiday after all — it took me a few weeks to send the recipe, in a stream of whatsapp messages, and I am happy to report that the method has already been duly tested and approved.

Here it is, all in one, more easily accessible hopefully than those bits and pieces of a conversation.

Chicken and broccoli recipe
Note: I actually use 2 different types of soya sauce — ‘light soya sauce’ which is quite salty and good to use instead of salt and tamari which is dark (but not the same as ‘dark soy sauce’) and has a deeper taste.

Recipe for 2:
200g tenderstem broccoli (or broccoli which is cheaper)
2 boneless chicken thighs (or breasts, but thighs are juicier)
One 1/2-thumb-size piece of fresh ginger
2 garlic cloves
Oil (any vegetable oil works)
Soya sauce
Rice wine vinegar
Sesame seeds

Trim off the stem ends of the broccoli. If using regular broccoli rather than tenderstem, cut it into small florets. Wash it in cold water.

To blanch the broccoli (optional but better): Put some salted water to boil in a saucepan (like for pasta). Once the water boils, cook the broccoli for just 1 to 2 minutes, then drain the water and add lots of very cold water from the tap to cool off the broccoli quickly. Drain.

Cut the chicken into chunks.

Peel and cut the ginger into matchsticks (=> first into thin slices, then each slice into sticks)
Peel and finely chop the garlic.

Heat the frying pan well, add a little oil. Put in the pieces of chicken and fry on high heat for about three to five minutes until they are nice and brown. Stir occasionally but not too often or they won’t brown.

Now pour some soya sauce and rice vinegar into the pan, about 1 to 2 tablespoons of each, and stir everything together. Add the broccoli. Cook for a few minutes more. =>> If you didn’t blanch the broccoli this will take a few minutes longer.

Move the pieces of chicken and broccoli to one side of the pan to make a bit of space, add a little bit of oil, and fry the ginger and garlic just for a minute (be careful that the garlic doesn’t burn, or it will become bitter).
Stir everything together.

Taste. Add soy sauce and vinegar if you think it needs it.

Sprinkle some sesame seeds.

That’s it! 💚

Green asparagus with spring onions

10 June 2021

Some dishes are ideas more than recipes, they creep into our lives unawares.

I have had a few favourite asparagus recipes, and written about them, each time touting their priviledged status and every time I was completely sincere. And here I am, with yet another ‘favourite’. Seasons and appetites change, new preferences do not preclude lasting affections.

I made this simple dish last year, probably guided by the entrails of our fridge: asparagus and spring onions being (again this year) our spring staples. It remained etched in the margins of my cook’s memory. This year, it’s all I’ve wanted to do with asparagus.

Perfect company for an easy barbecue, it could also be cooked on the fire, but our balcony-intended cast-iron grill is too small and barely fits steak for six, so I make it in a skillet on the stove.

Asparagus with spring onions recipe

A rule of thumb for quantities is one third spring onions to two thirds asparagus

Asparagus (see note on quantities above)
Spring onion (see note on quantities above)
Olive oil
Soya sauce
Flaky sea salt
Freshly ground black pepper

Trim the tough ends of the asparagus stalks; rinse in cold water.

Trim the roots and leaf tips of the spring onions (I like to also remove one layer if it’s starting to wilt). Rinse the onions to remove any grit. With the blunt side of a wide knife, flatten (crush) the spring onions lengthwise.

In a large bowl, combine the asparagus and spring onions with a couple of tablespoons of olive oil, a discreet splash of soya sauce, pinch of salt, and lots of black pepper. Toss to ‘dress’ the vegetables.

If using a barbecue, grill the vegetables / if using a skillet, add a bit of olive oil and fry over high heat for 5 to 7 minutes until the vegetables are nicely coloured and still firm.


Leek and wild garlic quiche with trout or pancetta

30 March 2021

Spring has sprung and it is time for quiche. ‘Why?’ you ask. I’m not sure, but that is how it works in my mind.

Perhaps it is the still tentative but now perceptible promise of picnics. Maybe the hankering for boisterous post-egg-hunt Easter brunches from another era, which somehow disappeared with the move to London. Or is it just the availability of leeks, to the near exclusion of all else … ?

Well, it is unmistakably spring, and had we no calendar there would be no mistaking it. Magnolias have burst, the daffodils are already waning, wild garlic is abundant.

And so, I’m making quiche.

In addition to the leeks and wild garlic, I’ve used another leaf, erbette spinach (aka erbette chard or perpetual spinach), which adds herbaceousness and really melds everything together. I found it available from my local farm delivery, but it isn’t all that common. Regular spinach or chard leaves would also work well.

I’ve tried versions of this quiche both with pancetta and with trout, and I’m hard pressed to decide which is the better one. I think it depends on the mood, and the availability of one or the other. So this recipe offers both options, I leave it up to your inclination.

Leek and wild garlic quiche recipe

Pastry crust (or store-bought)

4 to 5 leeks (about 750g)
Pat of butter and olive oil

Salt
50g wild garlic
150g erbette (perpetual) spinach (alternatively, spinach or chard leaves)
120g hot smoked trout fillet (alternatively, pancetta)
4 eggs
300g crème fraîche (or sour cream)
Squeeze of lemon juice
Freshly ground black pepper
Grated cheese such as Gruyère if using pancetta (optional)

Preheat the oven to 175C (350F)

Roll out the pastry and transfer it to a buttered pie dish. Poke the crust all over with a fork, and place it into the refrigerator while preparing the filling for the quiche.

Trim the leeks, wash, slice thinly, and rince again. Drain as much as possible.

Heat the butter and oil in a heavy skillet, add the leeks, a generous pinch of salt, and cook over slow to medium heat until softened but if possible not browned, 15 to 20 minutes.

Meanwhile, wash and thinly slice the wild garlic into a ‘chiffonade.’ Wash and coarsely chop the erbette (spinach or chard).

When the leeks are softened, add the spinach and wild garlic just for a minute or two, until wilted.

If using pancetta, transfer the leeks etc. to a bowl and set aside, and brown the pancetta to the desired hue in the (wiped) skillet.

In a medium or large bowl, crack the eggs and whisk them well with a fork. Add the cream and mix well. Then stir in the leeks, spinach, and wild garlic, with a generous squeeze of lemon.

Take the pie crust out of the refrigerator. Sprinkle the trout or pancetta evenly on the dough. Pour over the egg/cream/vegetable mix. Smooth the top.

Sprinkle generously with freshly ground black pepper and grated cheese, if using.

Bake in the oven for 30 to 40 minutes, until the crust is golden and the filling just set.

Enjoy with a green (or red or yellow) salad.

Cabbage slaw and a miso ginger mayonnaise dressing staple

7 January 2021

More often than not, in winter, this will be lunch.

I could buy January King cabbage for its looks alone — and yes, in food looks do matter, particularly in the dead of winter! — but it is also the mildest and crunchiest and most delicious of cabbages. I discovered January King since moving to London and it now constantly lives in our fridge in winter (except when it disappears too quickly), and has rescued and will save a thousand meals.

Many of which in this house are compiled from bread and cheese and ham or saucisson, pickled herring and smoked trout. Usually some form of raw vegetable (in summer cucumber and tomatoes, later fennel, carrot, kohlrabi!), soup, or salad — in winter sometimes this endive salad or, more often, cabbage slaw, particularly when January King is in season.

But red or white cabbage will also do, and a jar of the miso mayonnaise dressing lives in the fridge on standby so this can come together in a few minutes, the time it takes to slice the cabbage.

Cabbage slaw with a staple miso ginger dressing

January King is my favourite winter cabbage when it is available, otherwise white or red cabbage, or a combination of both.

I try to always have a jar of this dressing on hand in the fridge; it makes a large jar and can be kept for weeks.

2 Tbsps miso
2 Tbsps mayonnaise
1 tsp mustard
A small piece of ginger, peeled and grated
Juice from half a lemon
50ml (scant 1/4 cup) cider vinegar
100ml (scant 1/2 cup) olive oil
Large pinch of salt

In a large jam jar (with a lid), mix together the miso, mayonnaise, mustard, and grated ginger until well combined.

Add the lemon juice, vinegar, and olive oil, and salt, close the lid tightly and shake vigorously until the dressing is emulsified and looks homogenous.

Halve the cabbage, remove any wilted outer leaves, cut the half into wedges, then slice each wedge into thin strips.

Toss the cabbage with a few tablespoons of dressing and keep the rest of the in the fridge for future instant lunches.


%d bloggers like this: